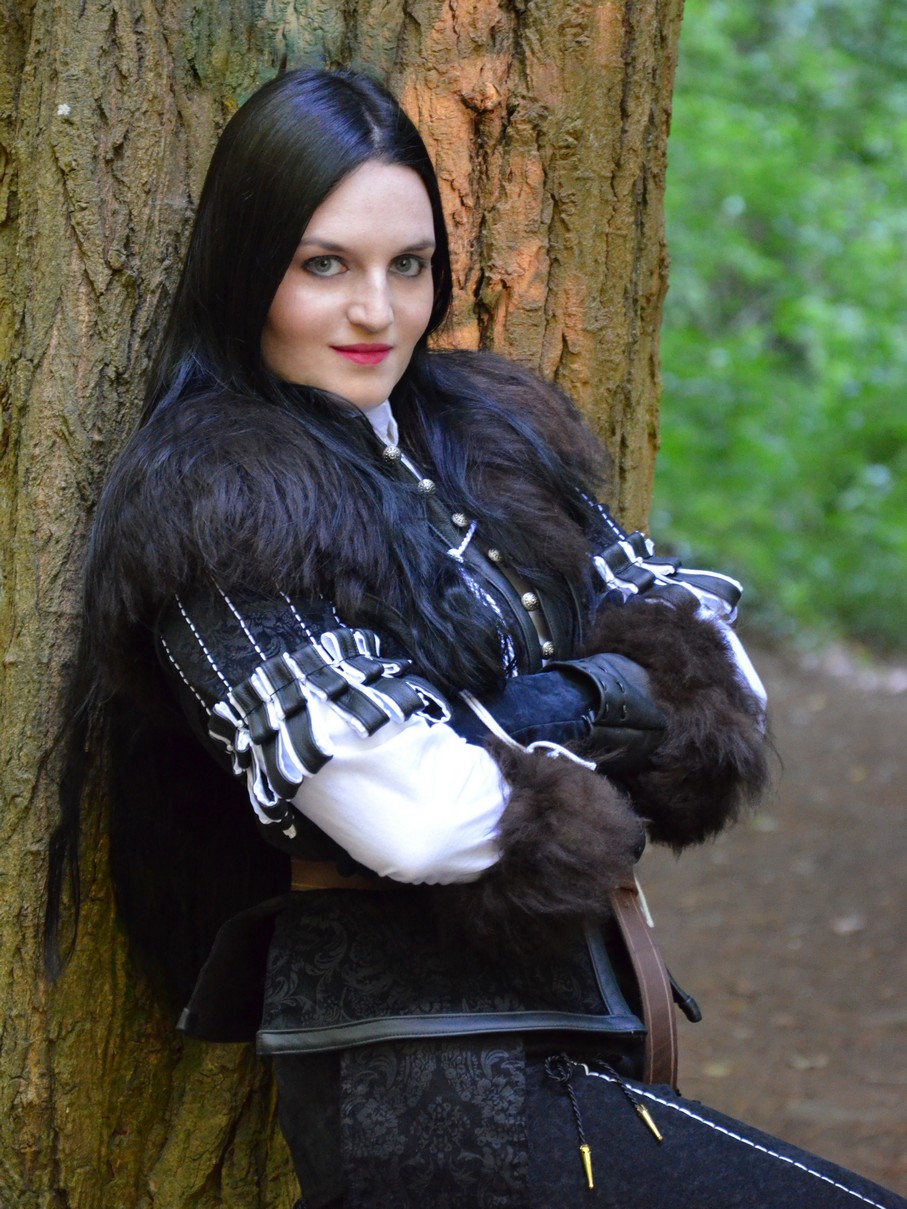
As I already mentioned on the costume’s main page, I had ro wirk a lot with screenshots and pictures found on Pinterest. There are only a few preview stills. However, I did get enough footage to make a very detailed plan for making Yennefers clothing. She is a sorceress in Witcher 3 and dresses only in black and white. I did all of the patterns myself by using the book „Creating Historical Clothes“, that helped me to draw a basic pattern. This step took a lot of time.
My main materials are as follows: 1,1 yard white cotton for the shirt, 1,7 yards velvet fabric for the jacket and 1,7 yards polyester leather.
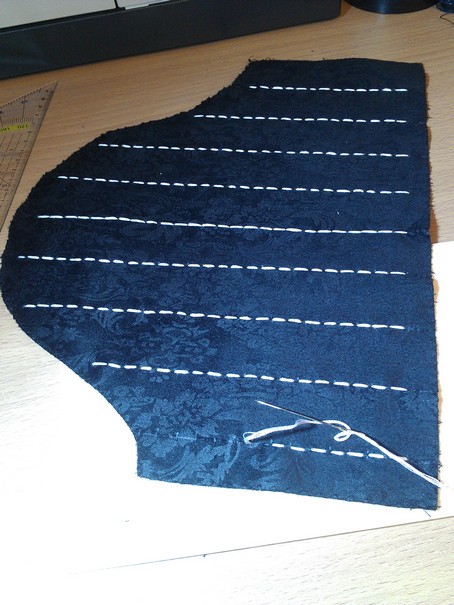
I started with the embroidery on the trousers, for which I used two packages (ca. 18 yards) of cotton embroidery thread in off-white. Later, I had to repeat this step on the sleeves, but used a clear white thread instead. You can see the technique on the photo.
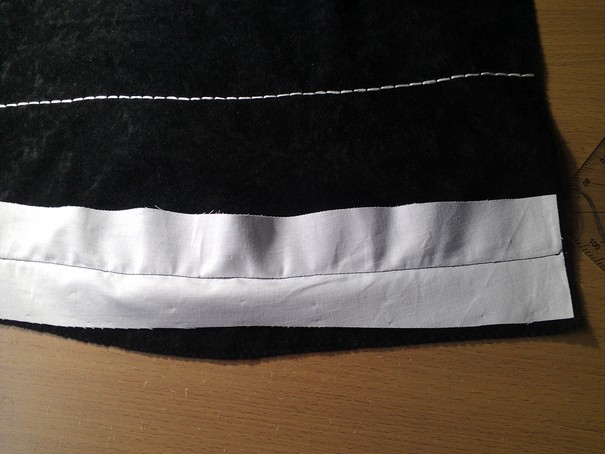
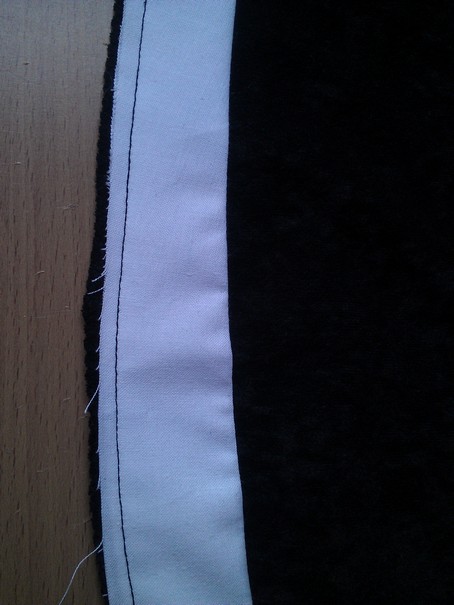
Afterwards, I cut two pieces of white fabric to make the white decoration on the trousers. You cannot see any stitches on the white part. I did some photos during the process:
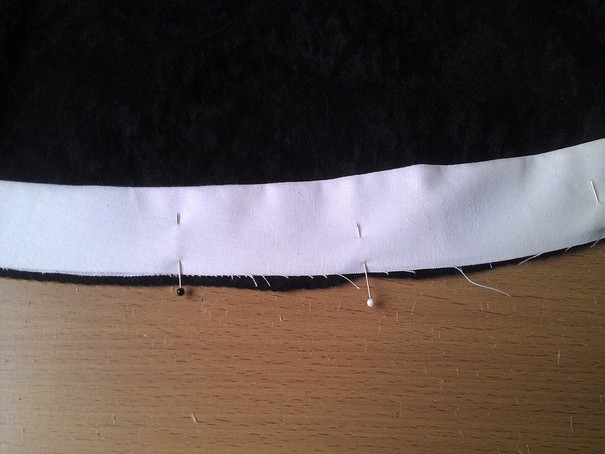
Since I did not want to use a zipper for Yennefer’s trousers, I decided to apply hooks and eyes, five pairs all in all.
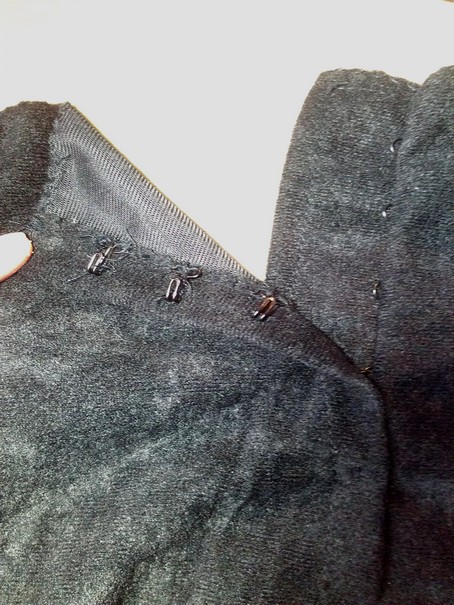
In the next step, I sewed the shirt. Although the Witcher Series has a medieval-style, I used a rather modern form: In order to make the shirt fit better, I did four darts. In my opinion, this is more usefull for Yennefers style. Again, this piece is closed with hooks and eyes.
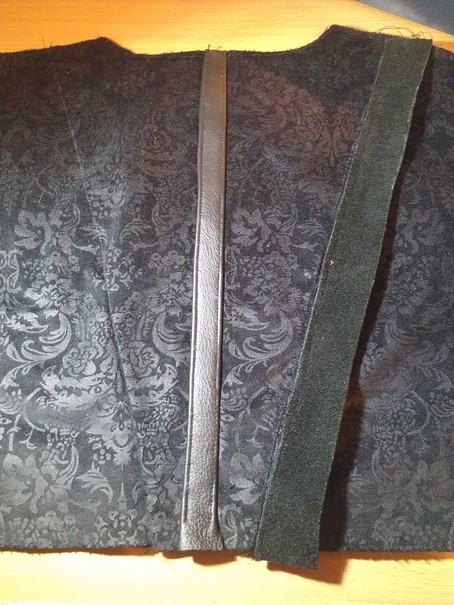
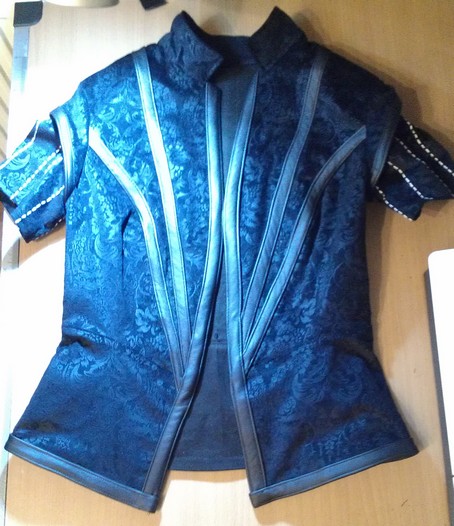
In the meantime, I had already started the jacket. This was the most complicated part, so I did a mock-up. Fortunately, it turned out to fit very well, so I could use it as a lining. Next, I cut out the main fabric and sewed the two layers together, so that you cannot see any raw edges. Then I cut out leather pieces and attached them to the jacket. I did some photos here as well. By the way, most of the darts are hidden by the leather strips.
Later, I could attach the bottom of the jacket.
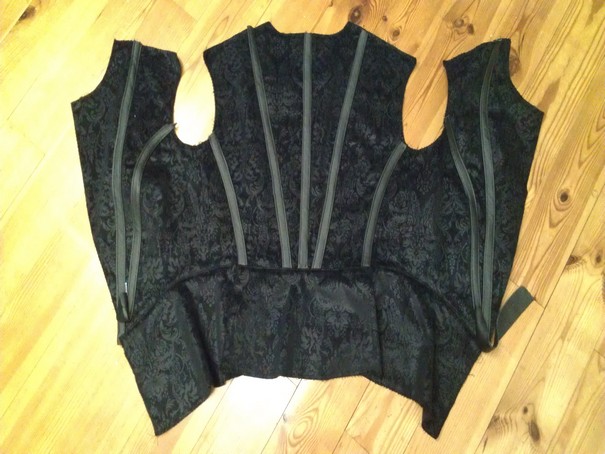
This meant I could now sew the bottom of the leather strips to the jacket. At the same time, I could deal with the sleeves. They consist oft wo layers; I already showed the embroidery of the longer ones. In contrast, the upper ones are very short. Leather strips are sewn to the border.

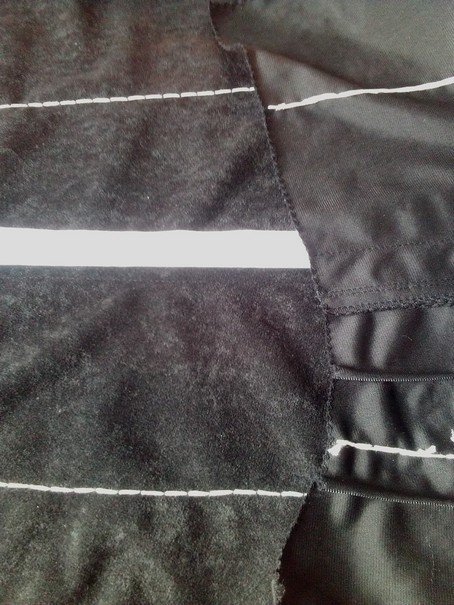
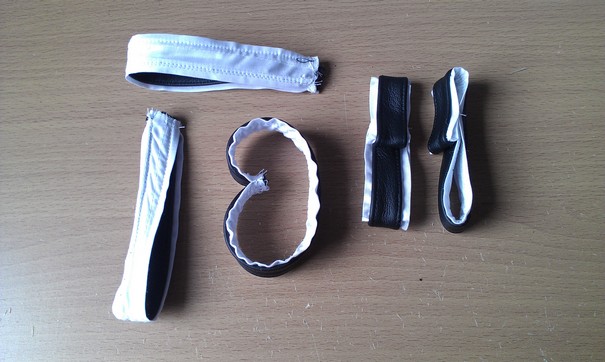
In addition, I wanted to deal with the decoration on the lower part of the sleeves. The pieces of fabric are black with white borders. Originally, I wanted to paint the lines, but they turned out to look ugly.
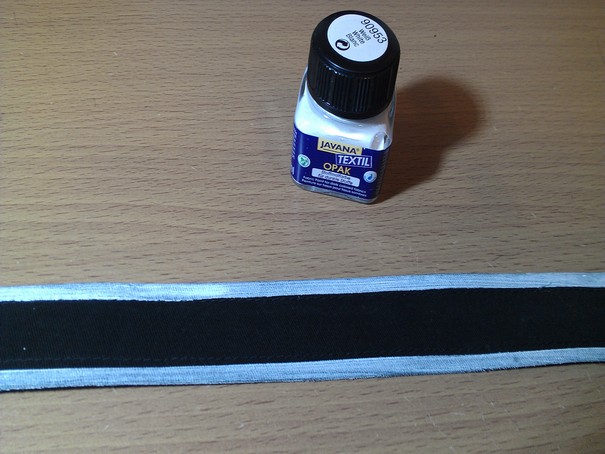
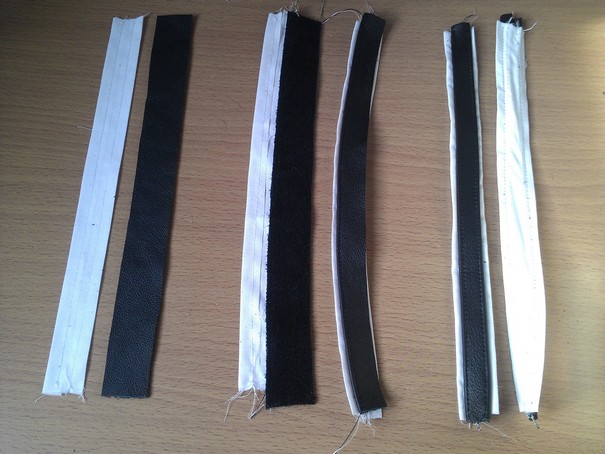
To sum it up, it can be said that I tried several things, but nothing worked well. Then, my boyfriend took a look at the photos and had the perfect idea. He said I should sew two strips to each other: one made of white cotton and the second one made of leather. In countless hours, I did this 22 times. It took so long because I had to work slowly and accurate. I even used a different color of thread on the bottom and folded the edges to each other to make the sewing invisible.
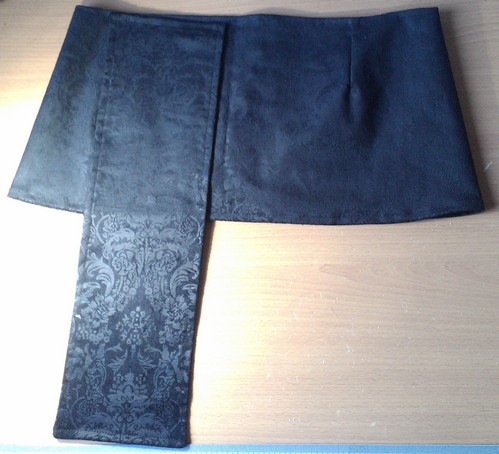
Next I paid attention to the belt. It is made of the same black velvet and is based on my trousers pattern. Therefore, it has several darts and is very close-fitting in contrast to the long piece attached to it. Again I used hooks and eyes to close the belt, 7 pairs all in all.
By doing this, I avoided to make the front of the jacket. Sewing the leather strips to this edge proved to be difficult, because at some points, the layers were tot hick for the machine. In addition, you cannot simply sew it a second time, because you see the old holes of the first stitching. Afterwards, it looked like this:
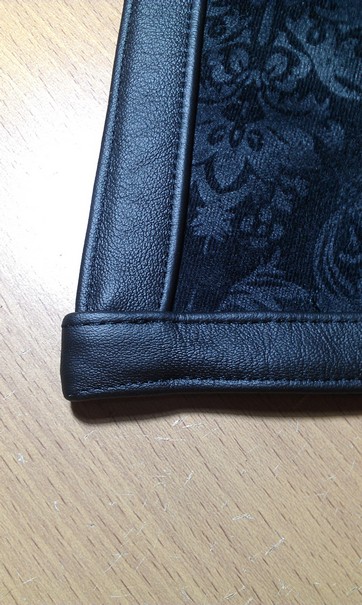
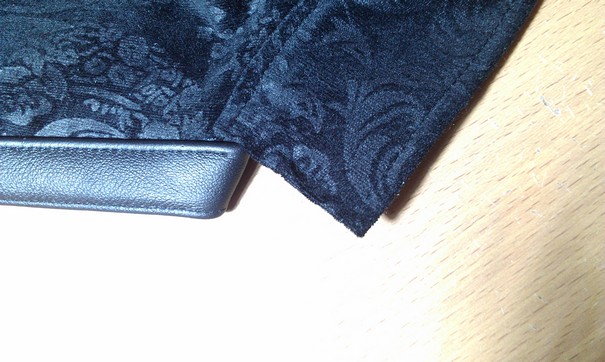
Here you can see the details on the corners:
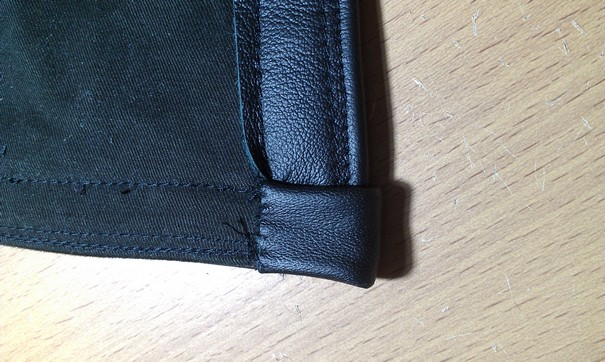
And the handstitching on the inside:
As well as a photo of the collar:
Again dealing with the decoration on the sleeves, I had to form the individual parts in various steps.
When stitching it to the sleeves by hand, which needed a lot of strength and patience, I figured out that 12 parts were necessary instead of 11.

In addition, I sewed the parts to each other, so that they could not move that much. Afterwards I had to deal witch the beads, that I put on a black string of embroidery thread.

Furthermore, I sewed each of them to the sleeve. However, the thin thread cannot be seen.

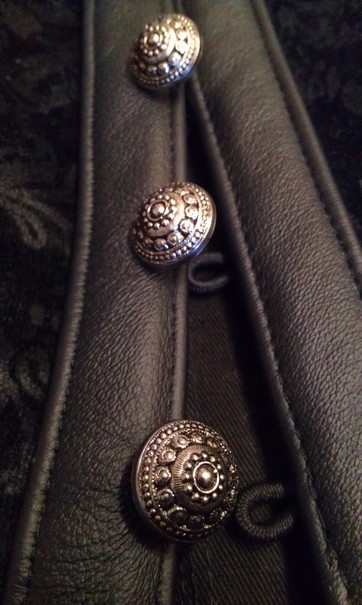
The ten metal-looking buttons are sewn to the leather with linen thread per hand. This turned out to be very difficult, so that I had to use a pair of tongs for the needle. On the opposite, you can see loops made of stretchy material. When taking a look at the inner jacket, you can see I sewed some hooks to the leather, too. They are supposed to be stronger and disburden the buttons.
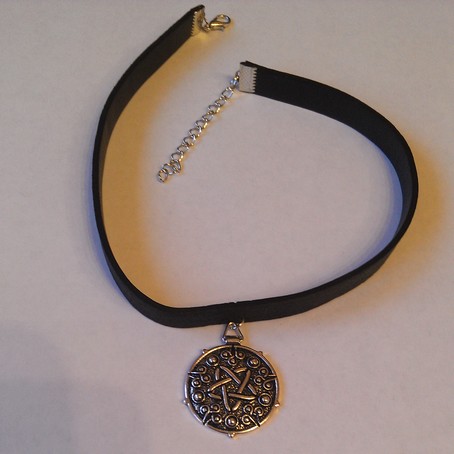
In addition, I recieved my medaillon purchased on eBay.
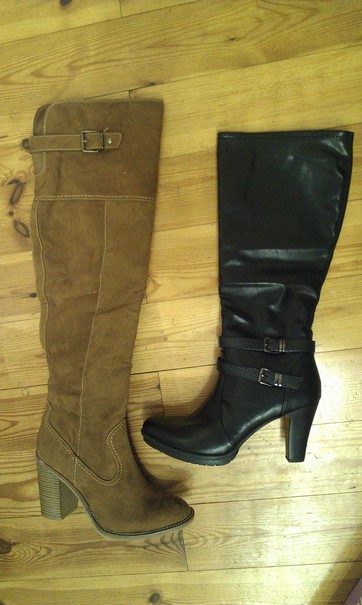
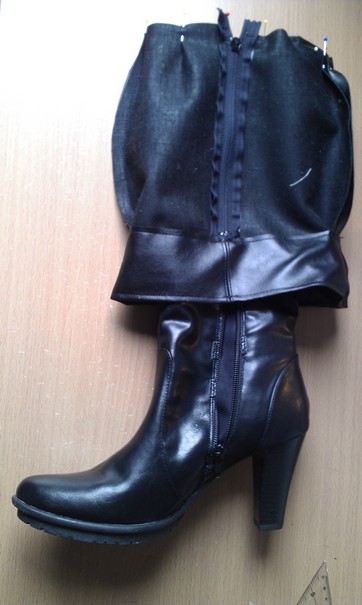
By the way, I decided spontaneously on altering shoes when I found two pairs suitable for Yen and Ciri on the internet.
In the first step, I cut some pieces away and added the overknee-part with the zipper. I had to do the upper part three times.
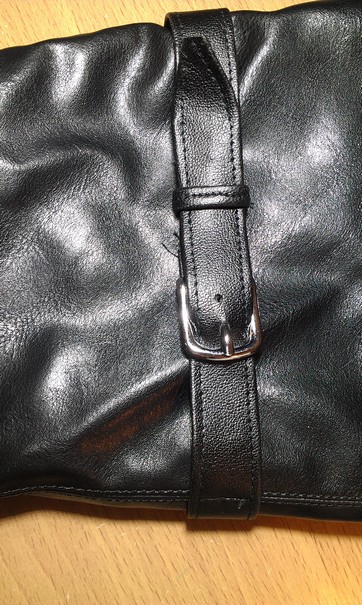
Afterwards I turned to the new buckles.
Although I could do this by machine, the next part would be more difficult: In reality, I had to do a lot of hand-stitching when sewing the vertikal parts to the boots.
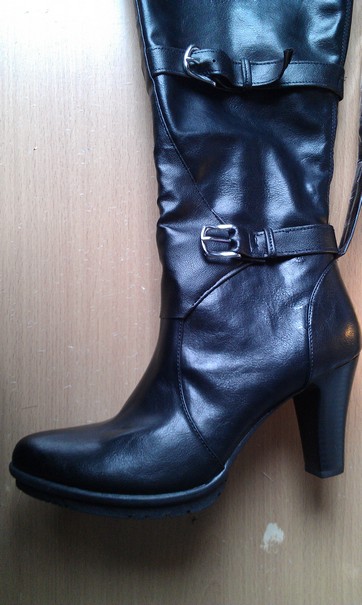
Last but not least, I had to figure out the last strap on the lower part, which is closed separately and contains some decorative rivets.

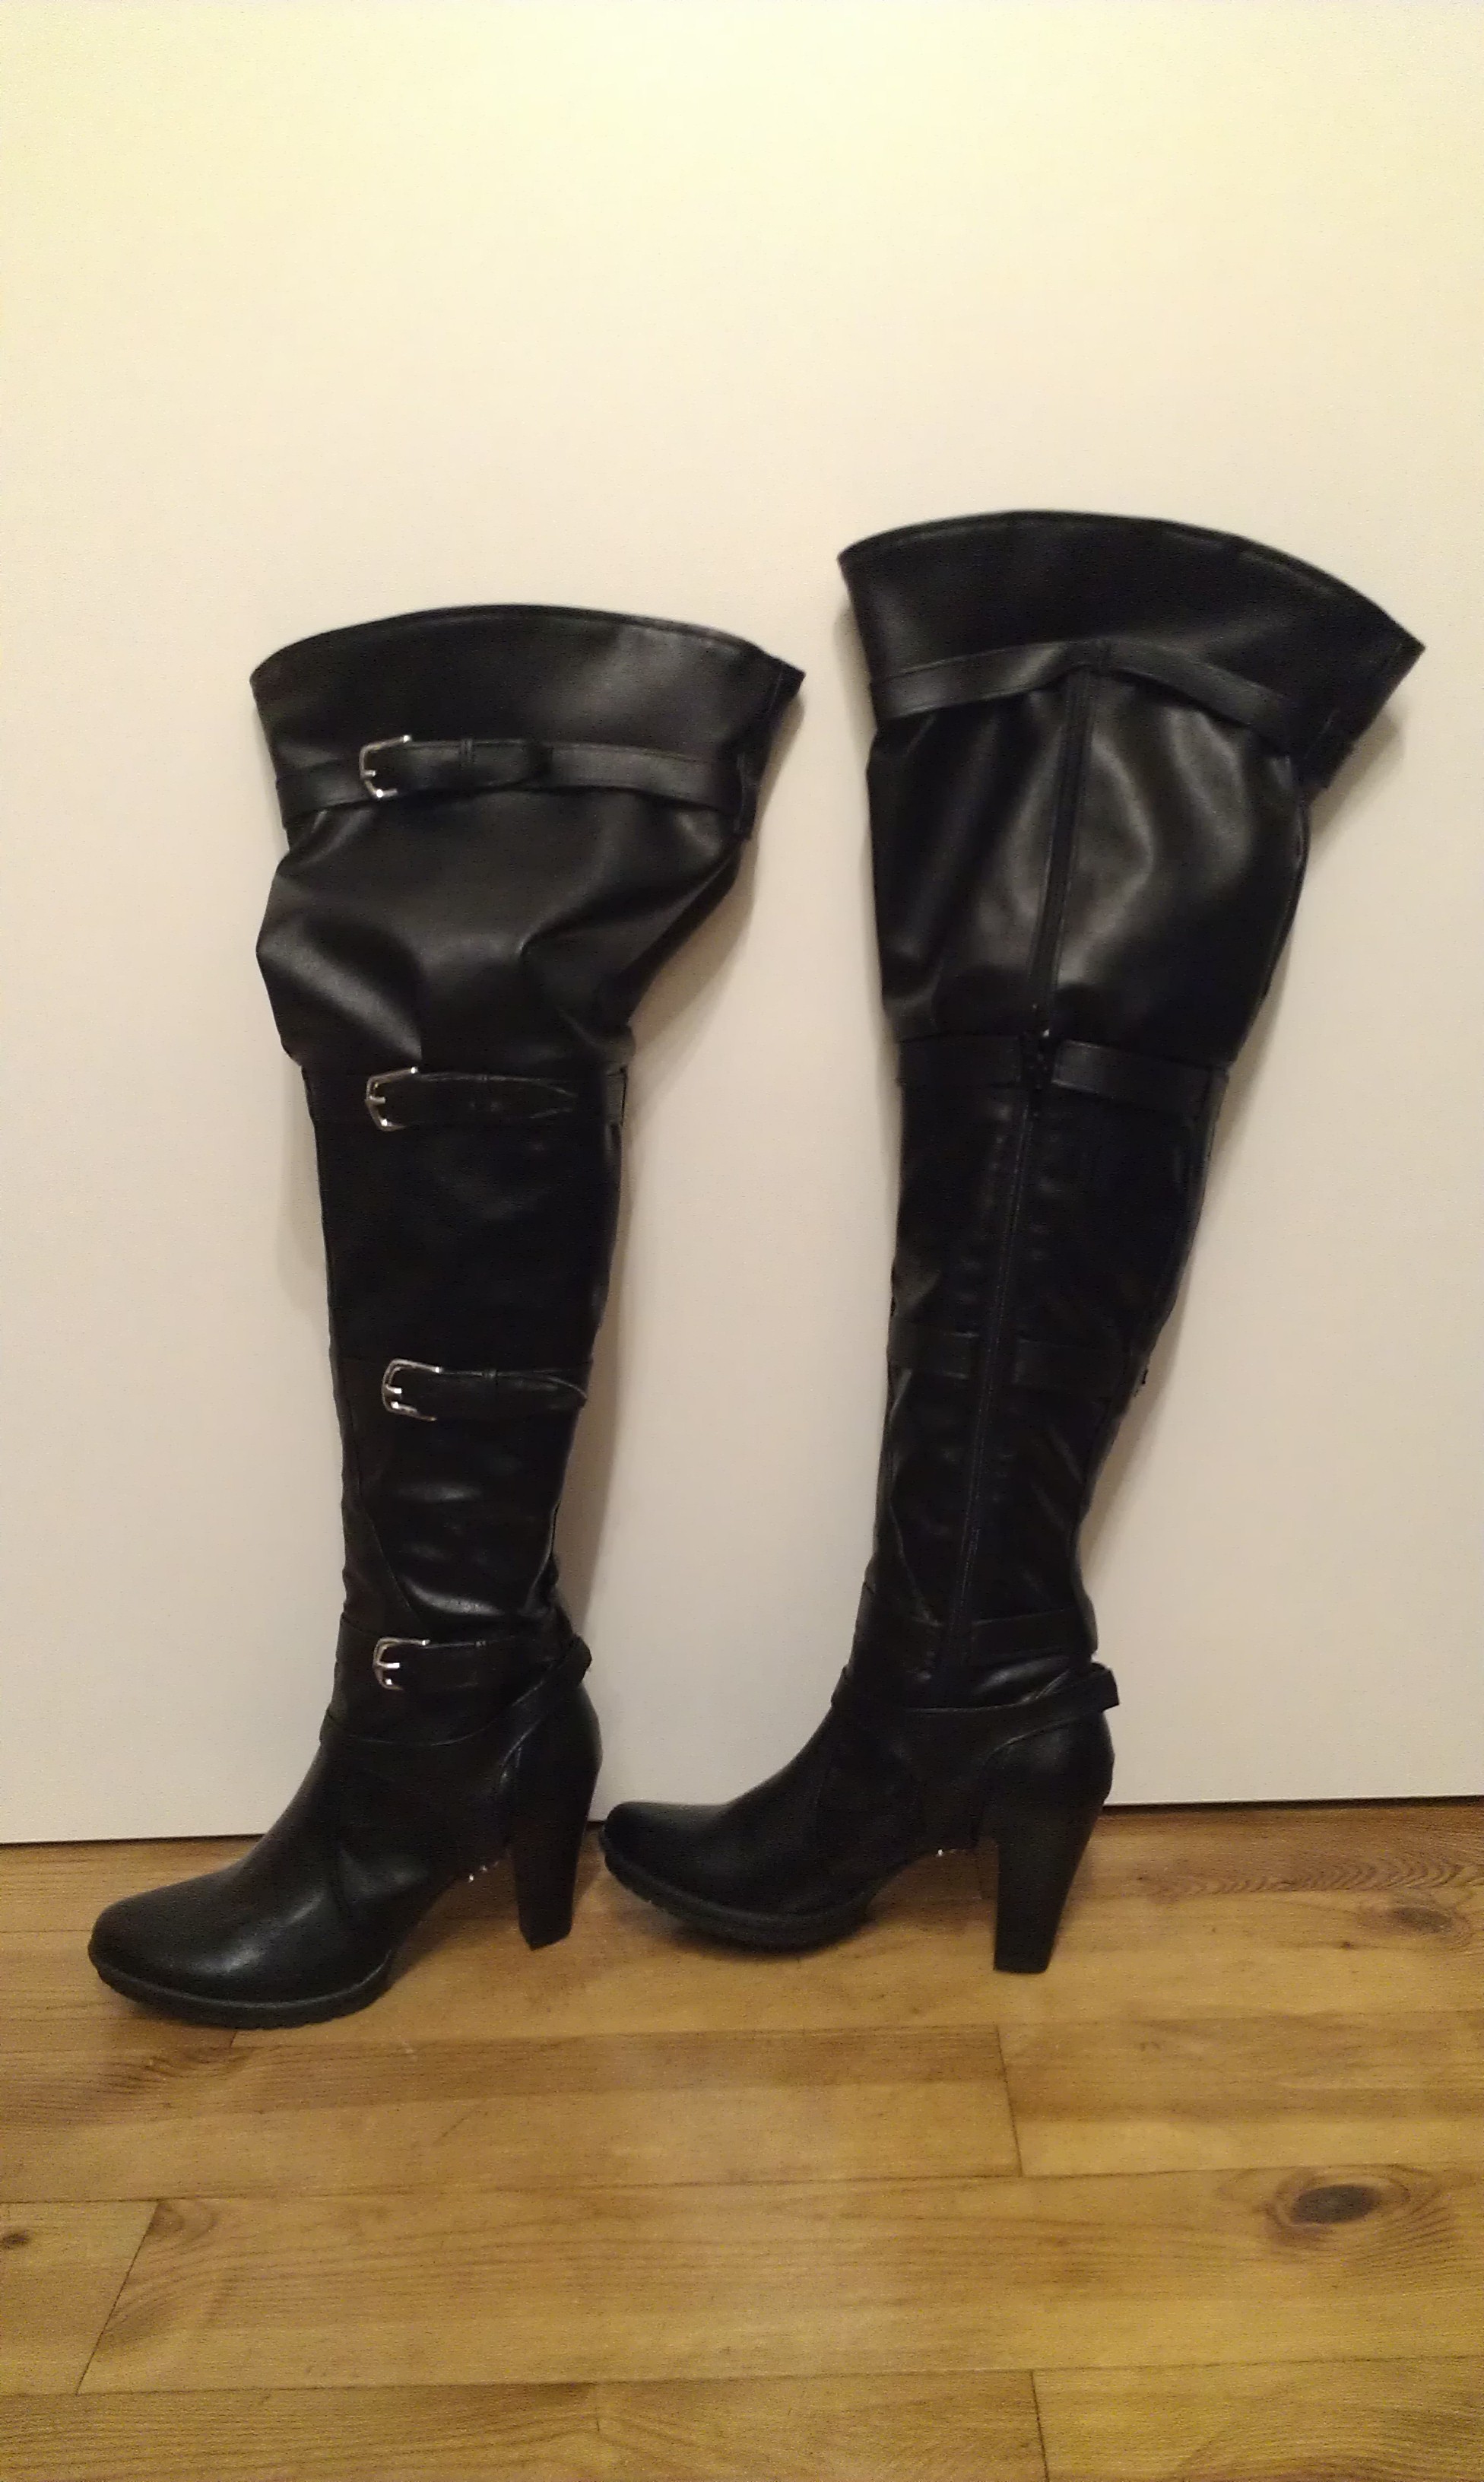
The finished boots look like this:
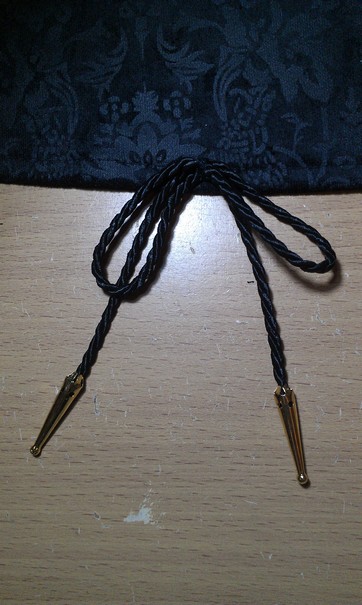
Some time later, I could focus on the belt again, since the metal parts arrived I purchased in Great Britain. First of all, the braid was glued into the metal.
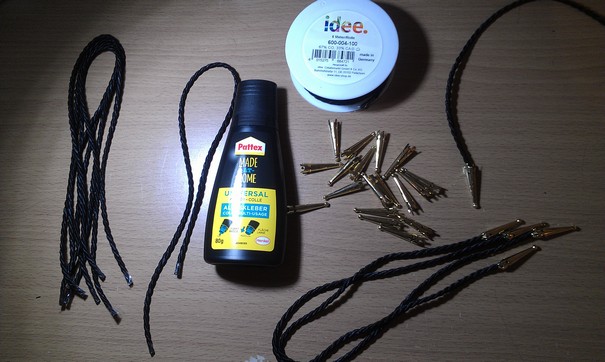
Afterwards they were closed with small pincers. Then I formed eight bows and sewed them to the belt.
Although Yennefer’s costume does not include a pouch, I would certainly need one for conventions. As a result, I simply used Ciri’s design and used black leather.

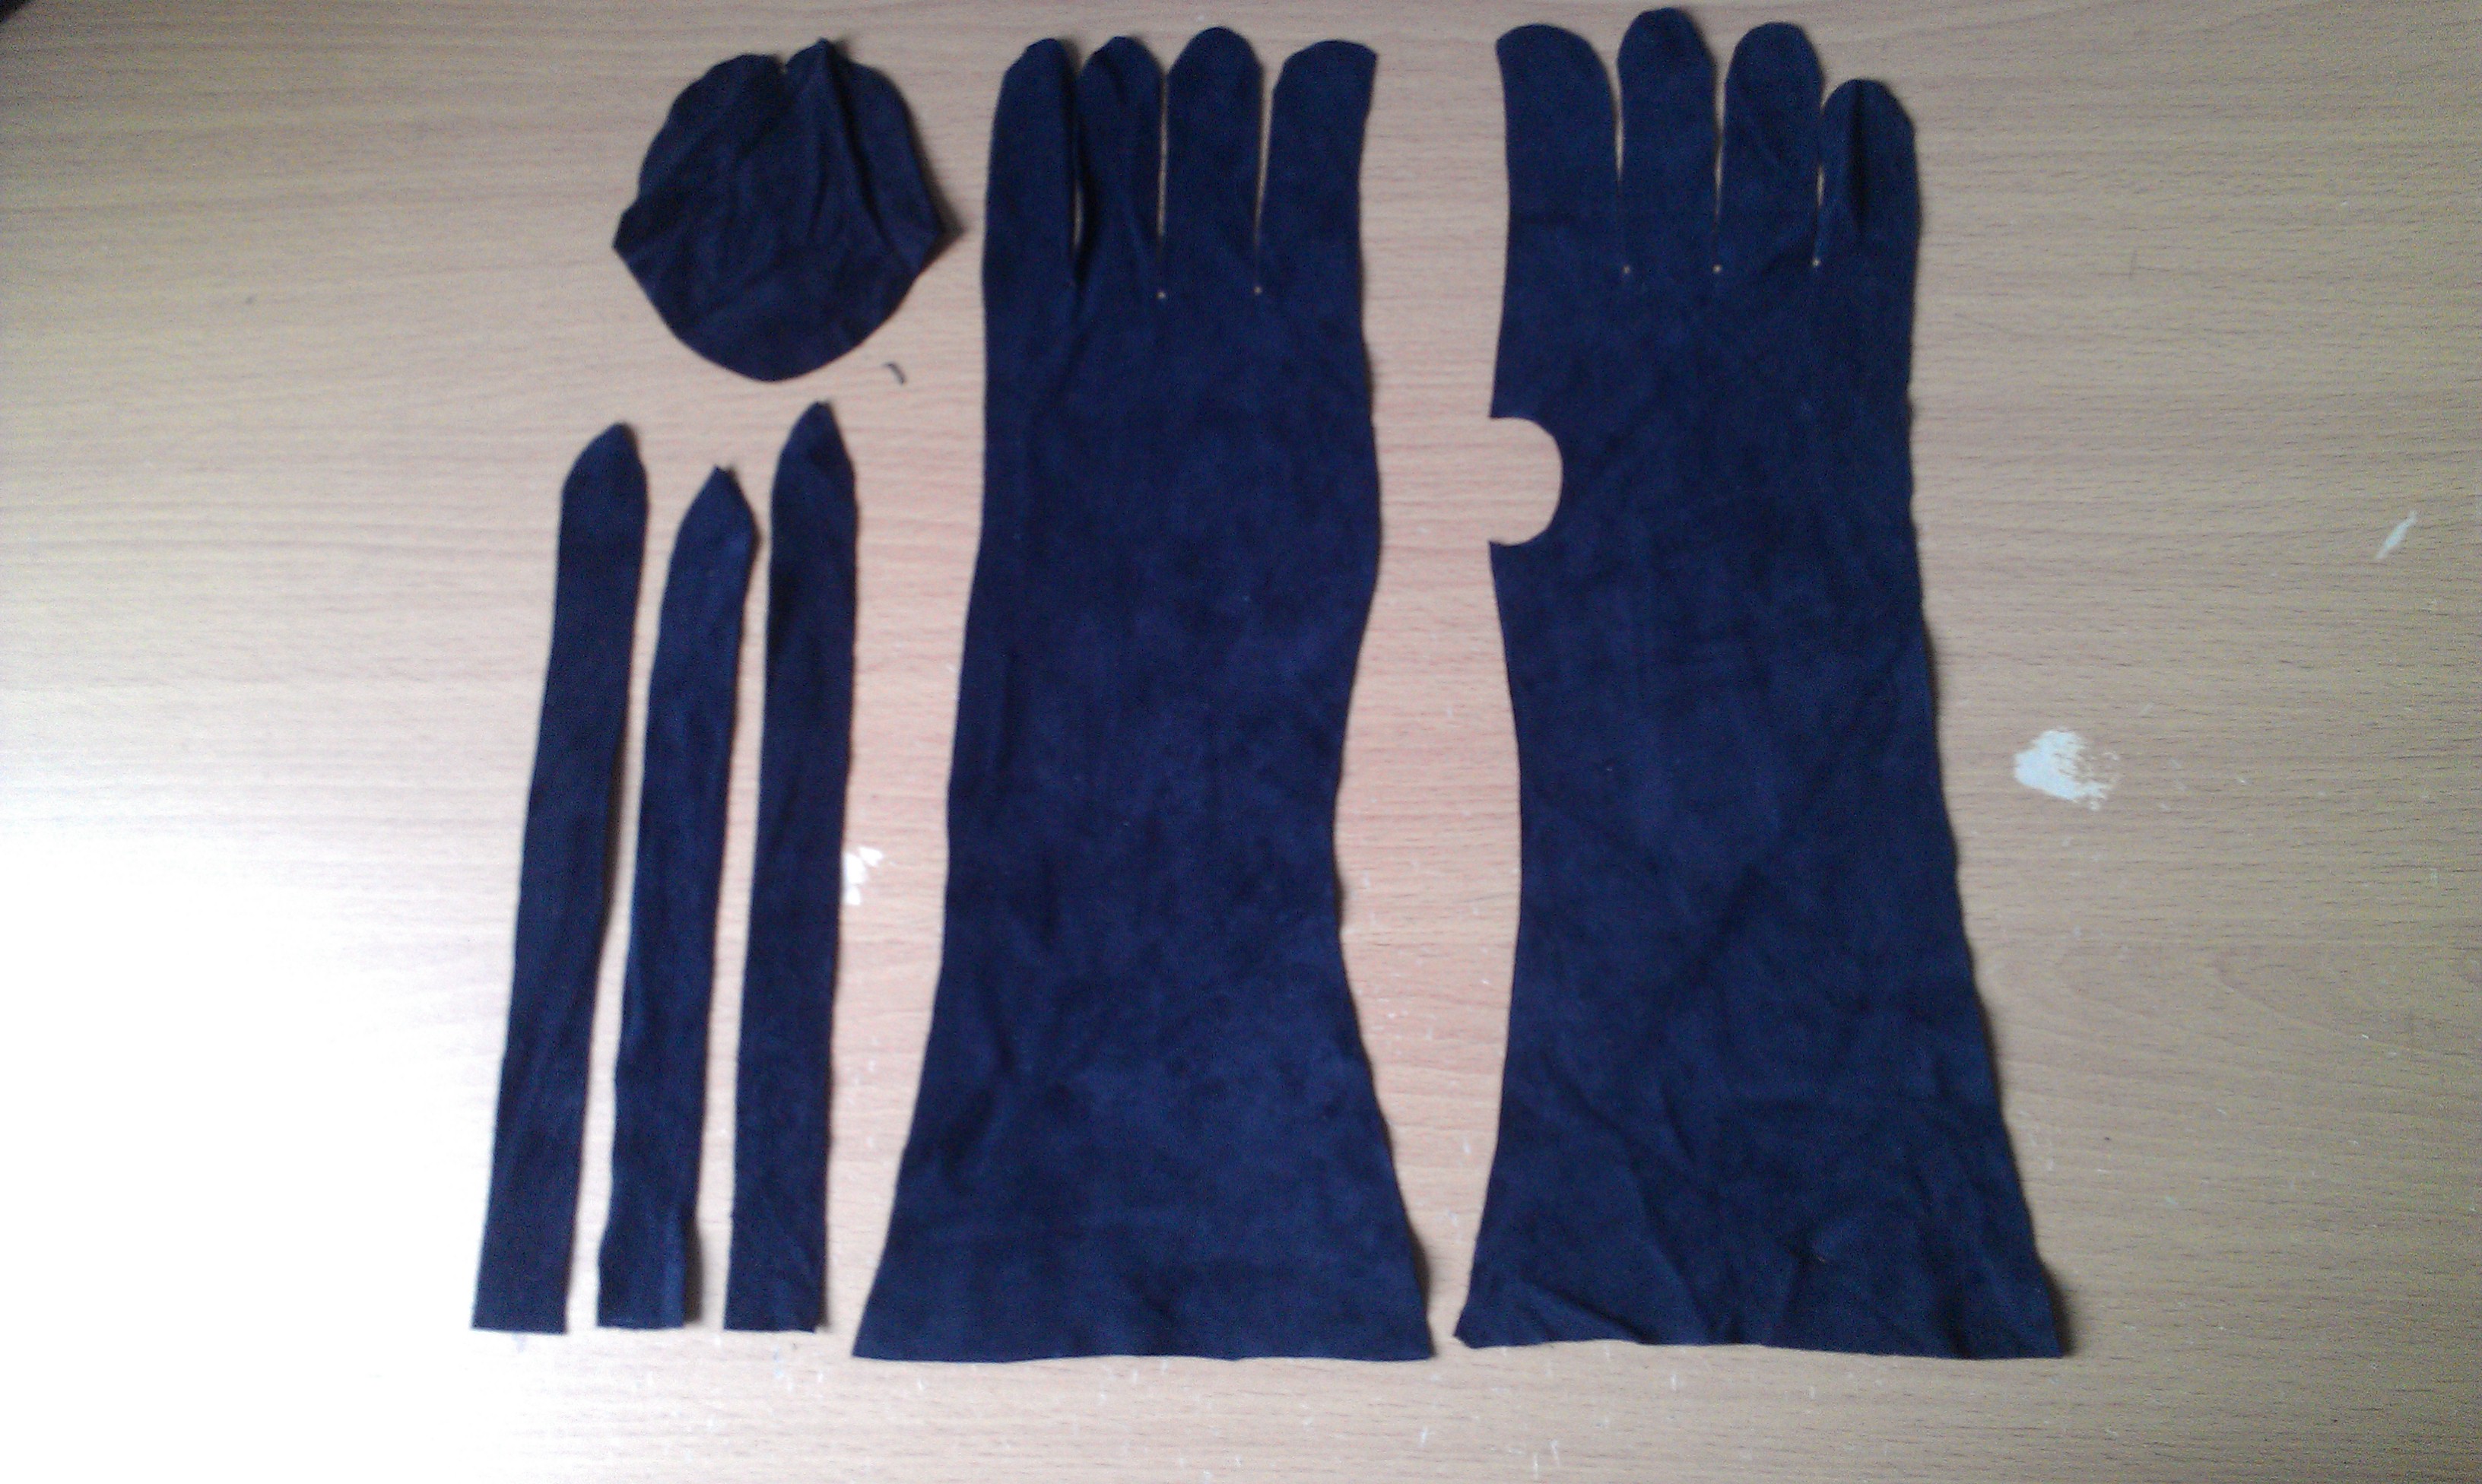
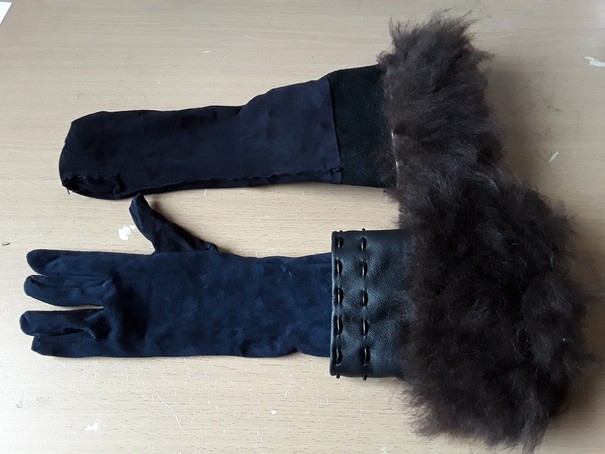
The exact pattern of the gloves turned out to be very complicated, but with several days of work, I finally solved the problem.
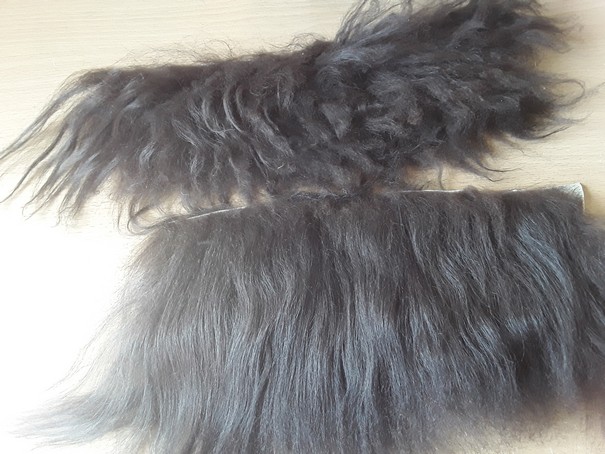
Since I was not sure what to do with the felt, I wanted to do these things in the end. To sum it up, I did use an old sheep’s pelt I could find in the attic. Unfortunately, I did not see a small spot with less hair on the front, because you always have to cut felt on the other side. So I had to do this part again.
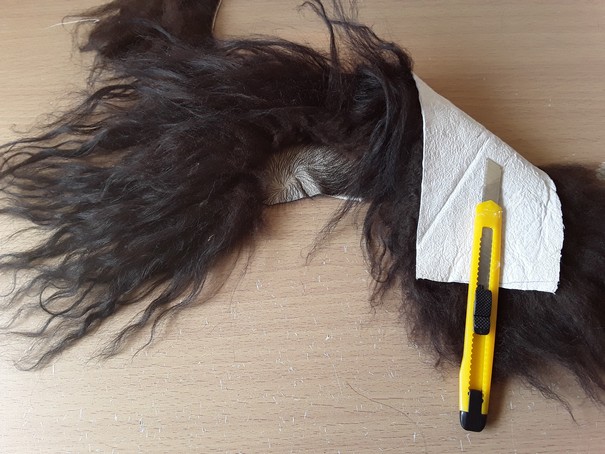
In the next step, I had to comb the hair.
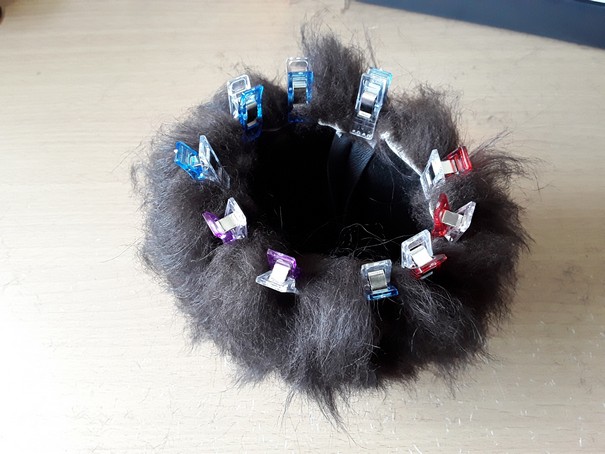
Then, I pinned it to the other parts with the help of small clamps.
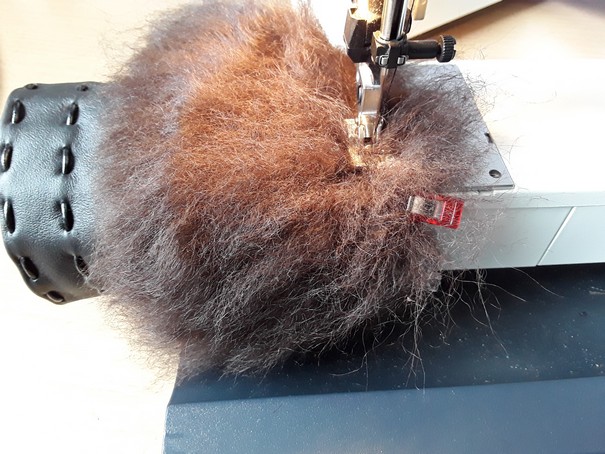
When sewing it, I did use a zick-zack stitch. It has a very brownish look here.
In the end, my finished gloves look like this at the inner and outer side.
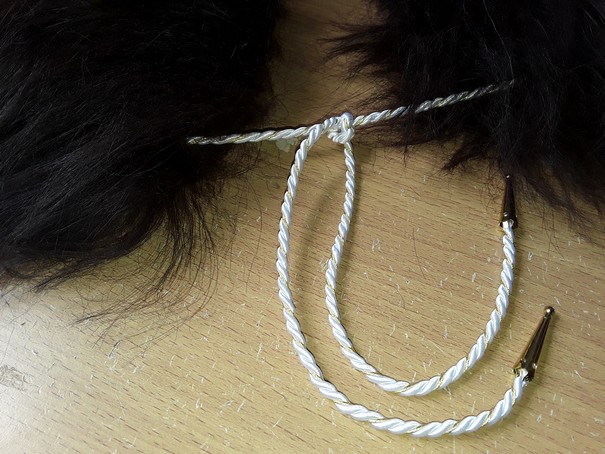
Next, I added the white cord to the gloves and the cape. The latter is either white or gold according to the promo pictures or screenshots. So I decided to use white and golden elements.
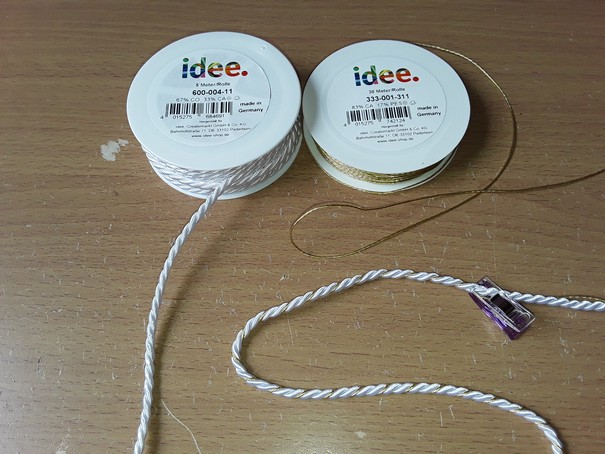
Golden end caps are used here, too.
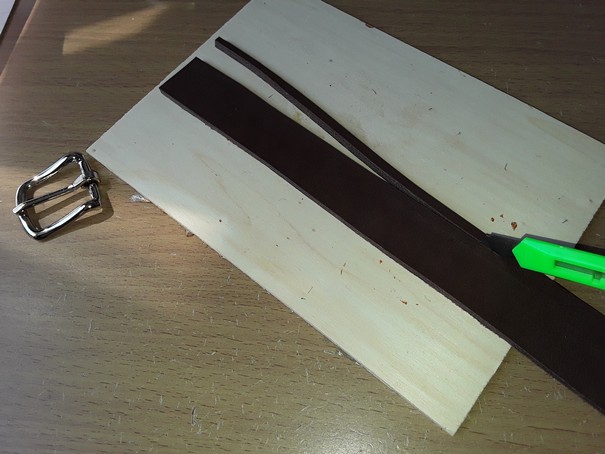
Yennefer’s belt is brown and is closed with a silver buckle.
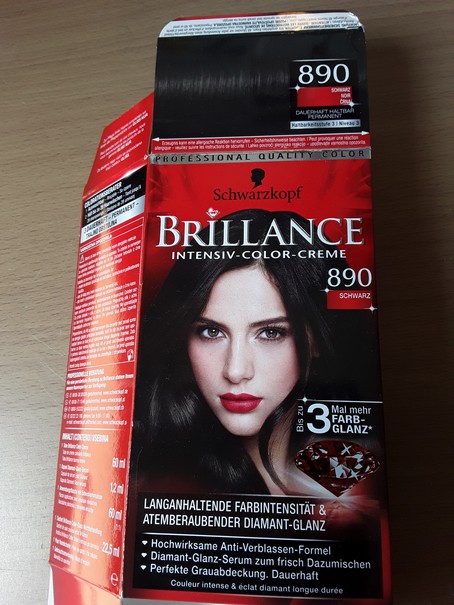
To complete Yen’s look, I dyed my hair black. By the way, I wanted to do this earlier and had to use four packages.
Finshed! You can see more photos on the costume’s main page!