This page deals with the decoration on the dress and the accessoires.
Part 1: Brooch
After finishing the underpinnings, I had some problems with the shipping of materials, so I had to do something different in the meantime. As a result, i started the brooch, because I already had all of the material. It is on the back of the dress and holds together the huge sleeves. I think it should habe 4-5 inches in diameter, but I could not find the right size of beads, so I had to scale it up to about 6 inches.
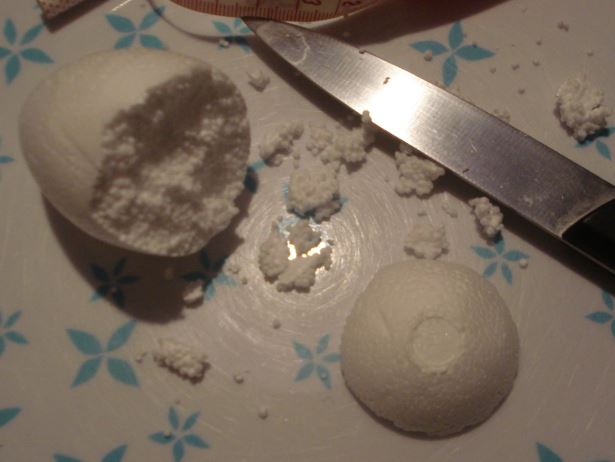
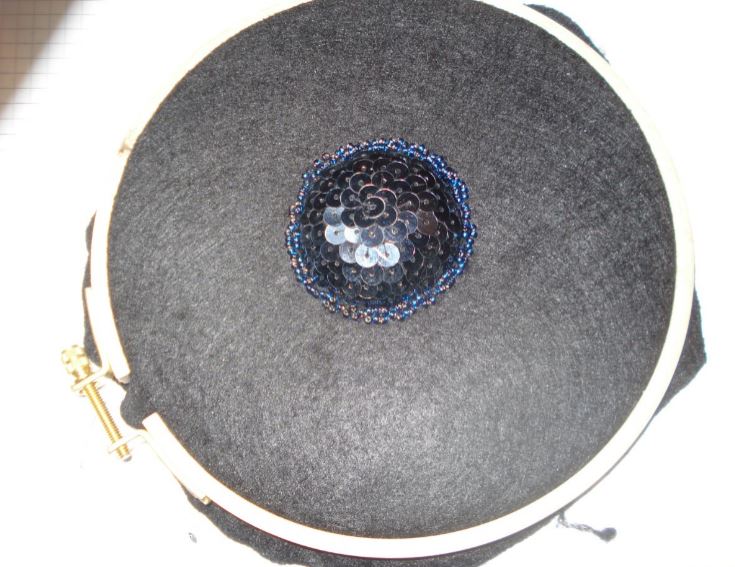
First of all, I needed a base, so I chose some synthetic felt in black, that i had in my stash. There is a little hill in the middle of the brooch, but a ball did not meet the look, so I cut an Polystyrene egg into two pieces and did use the smaller under part, which was about 1.5 inches in diameter.
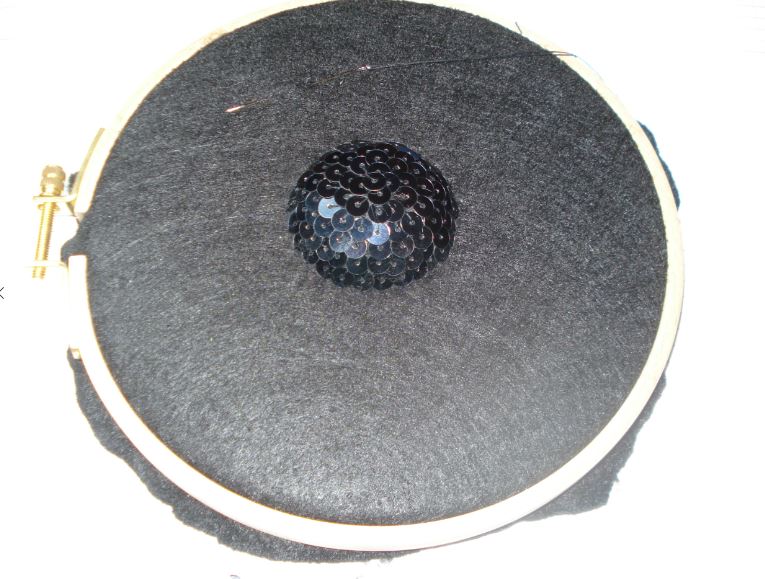
I wanted to cover the egg with the Polyester taffetta. Finally, I did use the felt afain, because the Polyester did not work. However, the fabric glue did not work, so I chose some glue I already had, which was a big mistake, because Polystyrene reacts chemically with this stuff. Kay-Dee already wrote it on her page, but i did not translate it the way it was meant. Finally, the damage was acceptable, so I sewed the egg on the felt.

In the next step, i covered the egg with the second box of sequins. Unfortunately, the chemical reaction mentioned above did have some influence on the sequins as well.
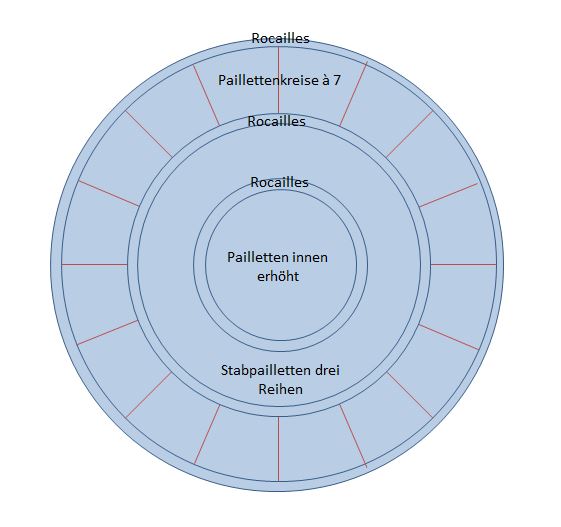
To cover the line between the egg and the base layer, a circle of Rocaille-beads was sewn on. It is a package of „Pracht Creatives Hobby“ with a weight of 17gr, which was more than enough material. The color is called „montanblue“ and hast he No. 9277-4. The size (2,6mm) is bigger than the original, but fits in well.
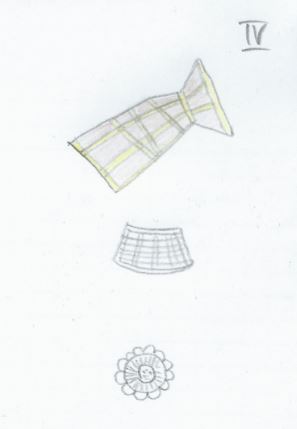
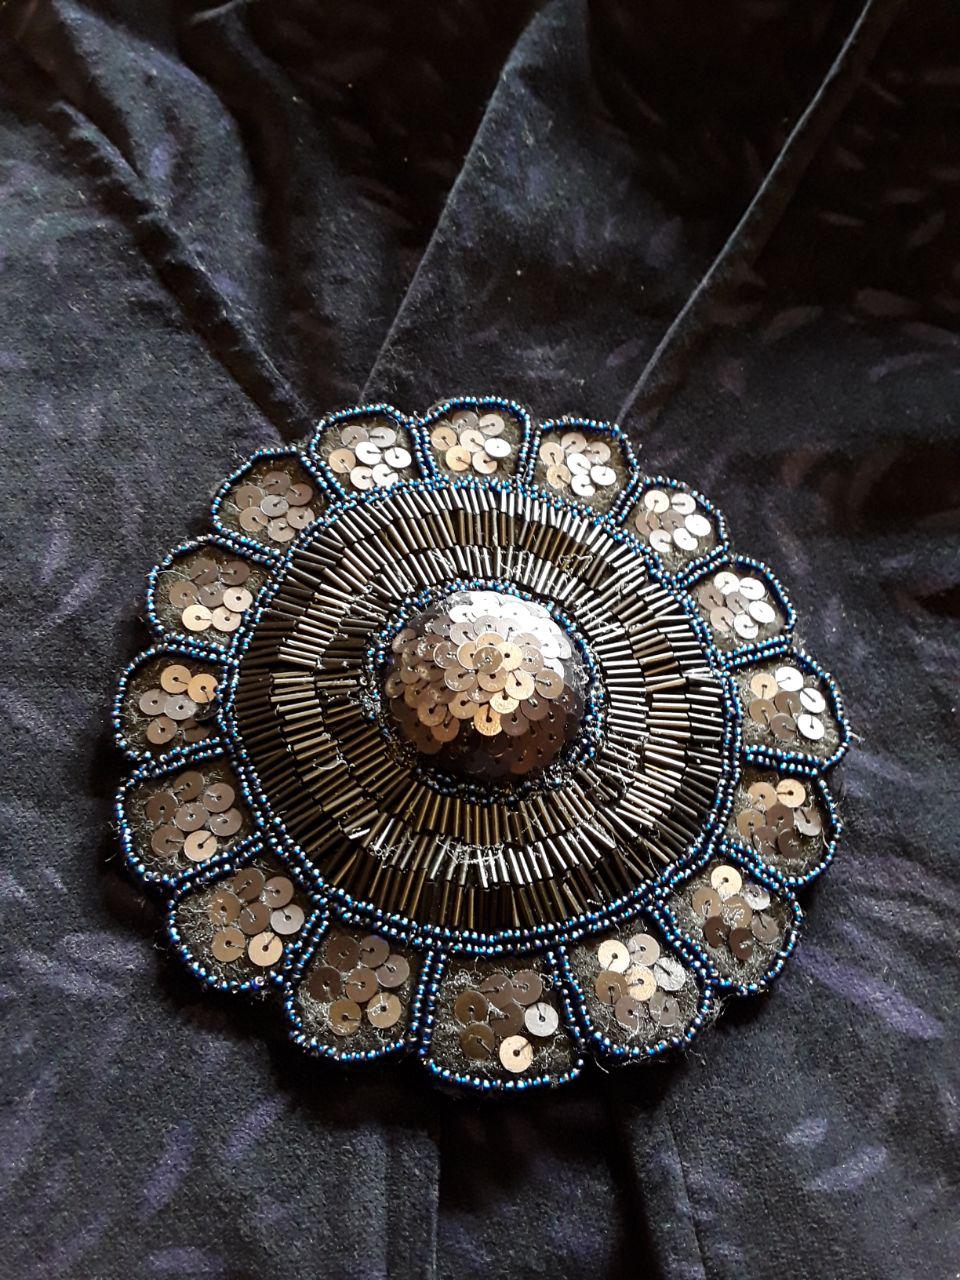
Next came the bigger part with three rows of black sticks. They are 6,75mm long and have the No. 7091.05.86 by „Rico“. Unfortunately, the package with 17gr did only work for half of the circle. It is surrounded by Rocailles beads, too.

The outer part of the brooch is divided up into 16 parts, each of which has a small flower made of seven sequins. Afterwards, I had to separate it from the frame and cut it into the shape it should have later.

In the next step, I had to sew another couple of Rocaille-beads next to the border. It is finished now! By the way, it is hard to tell how long I actually worked on the brooch, but I would guess it took more than 10 hours.

Attached to the coat:
Part 2
Padmes necklace was made out of Worbla’s Black Art, that can be heated up, formed into the desired shape and painted afterwards. However yoou have to use some primer to get a smooth surface. The pieces stick to each other when warm.

In the next step, I used Flexbond for priming, which is very similar to woodglue. The exact color was achieved by mixing two Vallejo metal colors and using my Airbrush. To complete the piece, the surface was sealed with spray varnish.

Part 3
Nearly the same techniques were used to create the fake metal pieces on the headpiece. Furthermore, the round shapes were created with a punching iron.
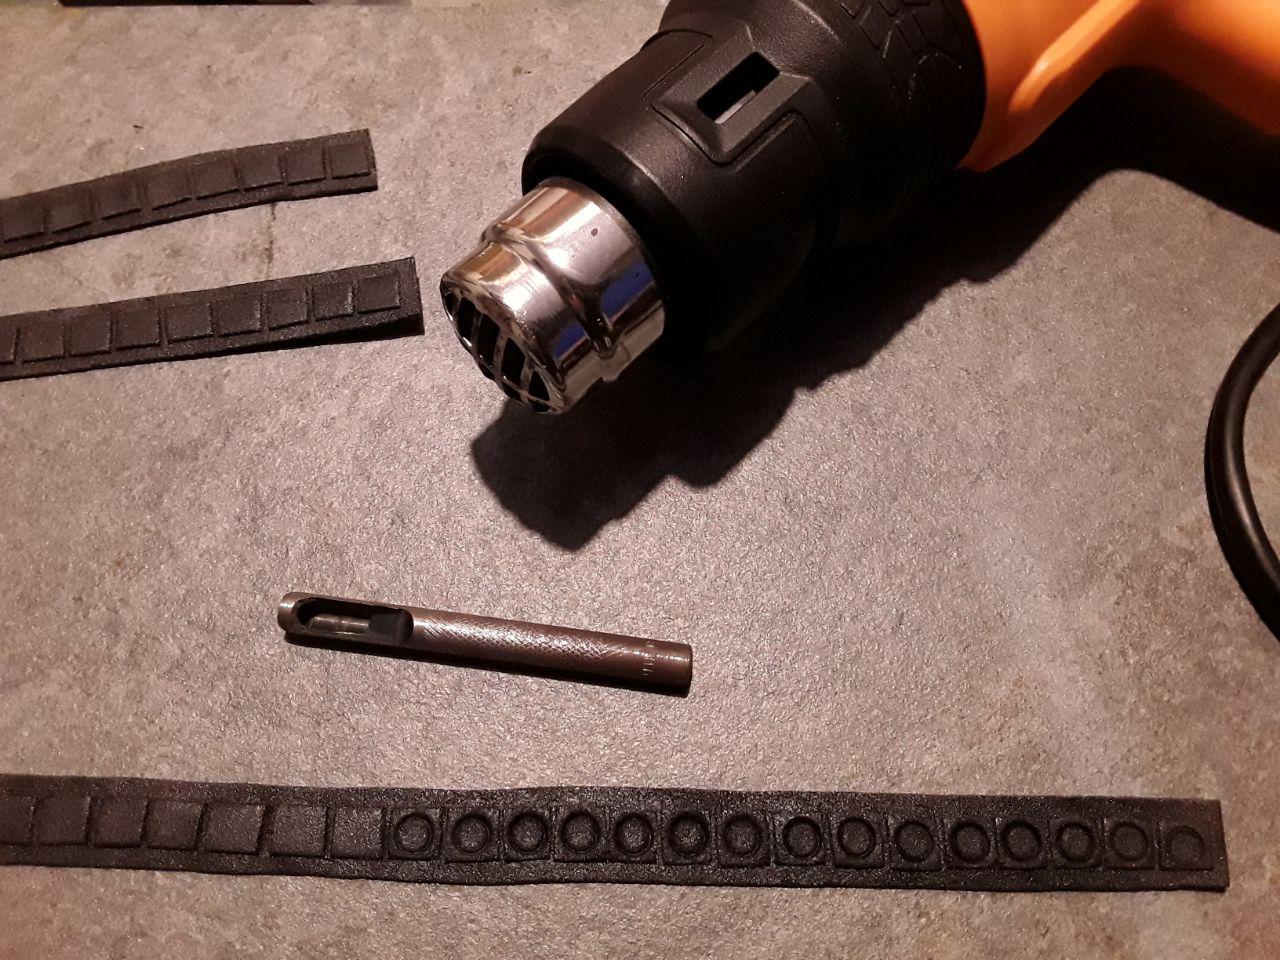 To make it as lightweight as possible, I made the basic shape out of EVA foam. This material is well-known in the cosplay scene, mainly when building armour. You can see the original use when visiting the making-of pages of my Elder Scrolls Online project and the Wonder Woman torso. As a consequence, my leftover pieces were large enough to experiment with the desired shape. The foam is 5mm thick and can be glued together. After applying some primer, the foam can be painted with cheap Acrylic paint, so that small spaces between the hair will not be in a contrasting color.
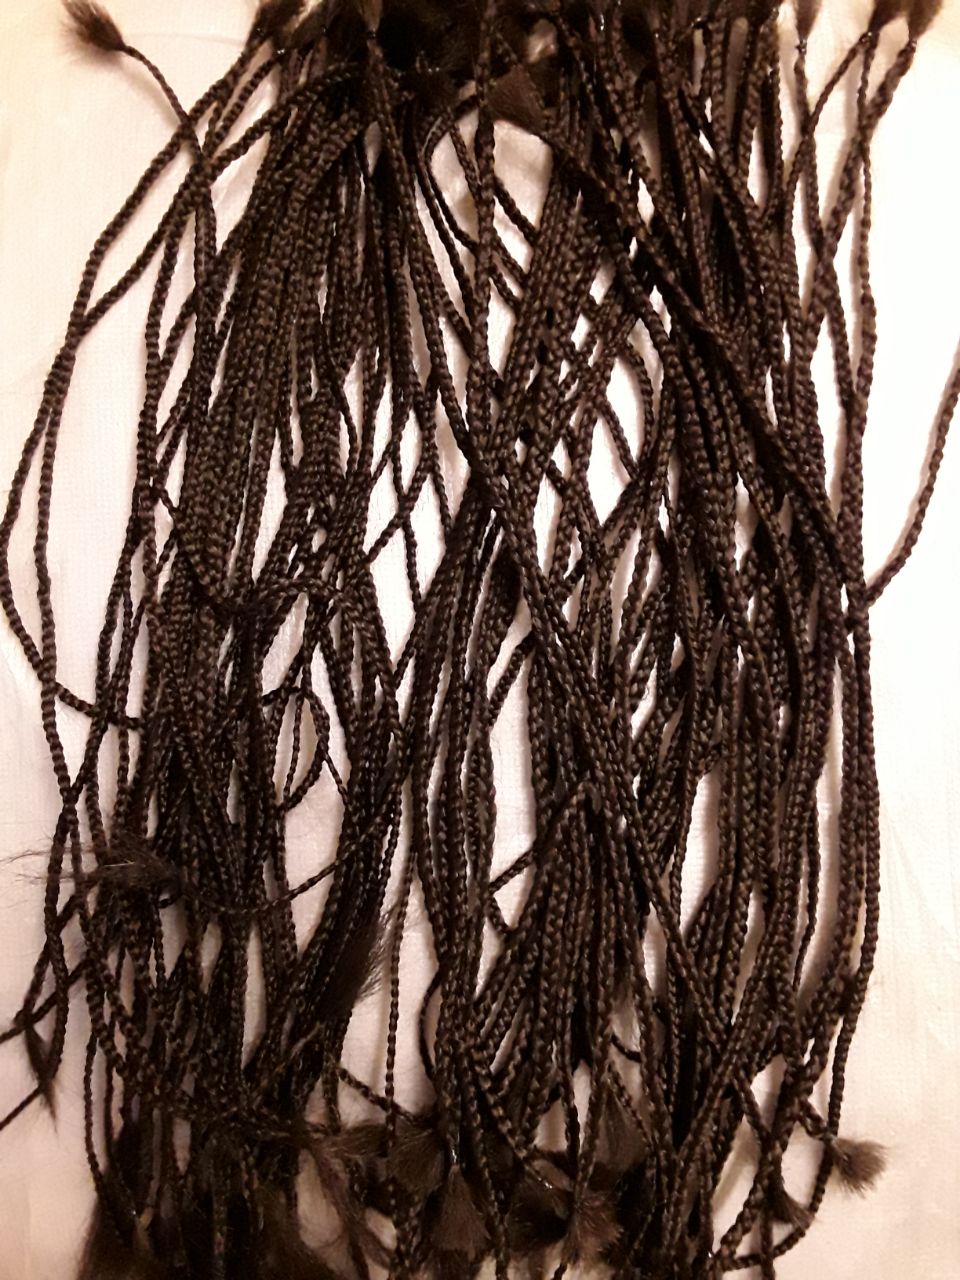
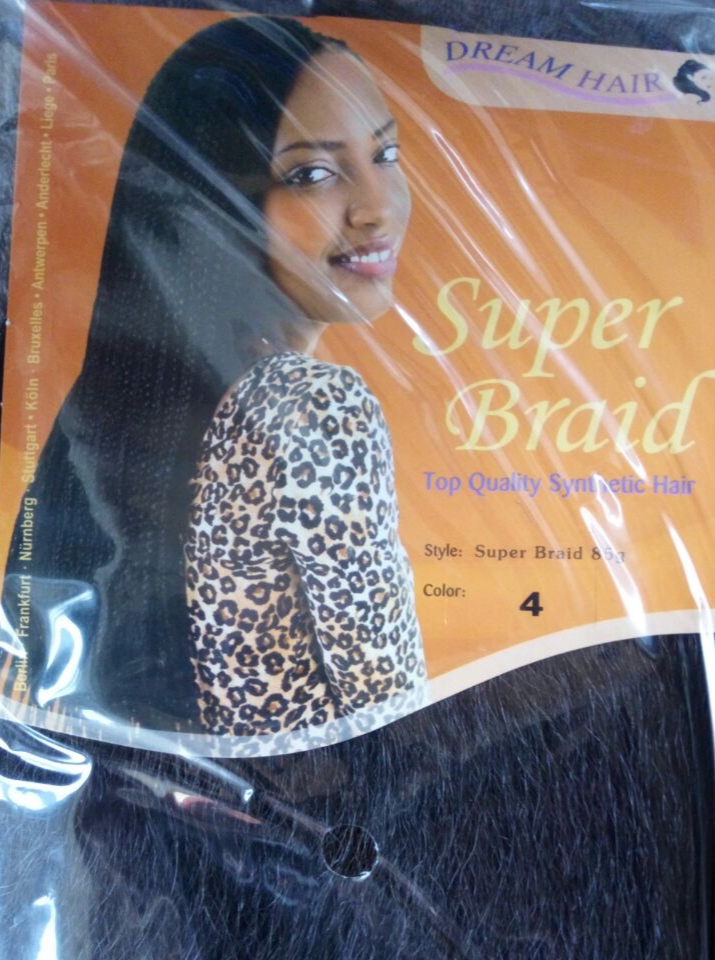 Afterwards, I started braiding. Since I did not want to wear somebody else’s hair, I purchased two packages of fake material. First, I cut it in half, afterwards I divided it into several douzen strands. The whole braiding process took me some days to complete.
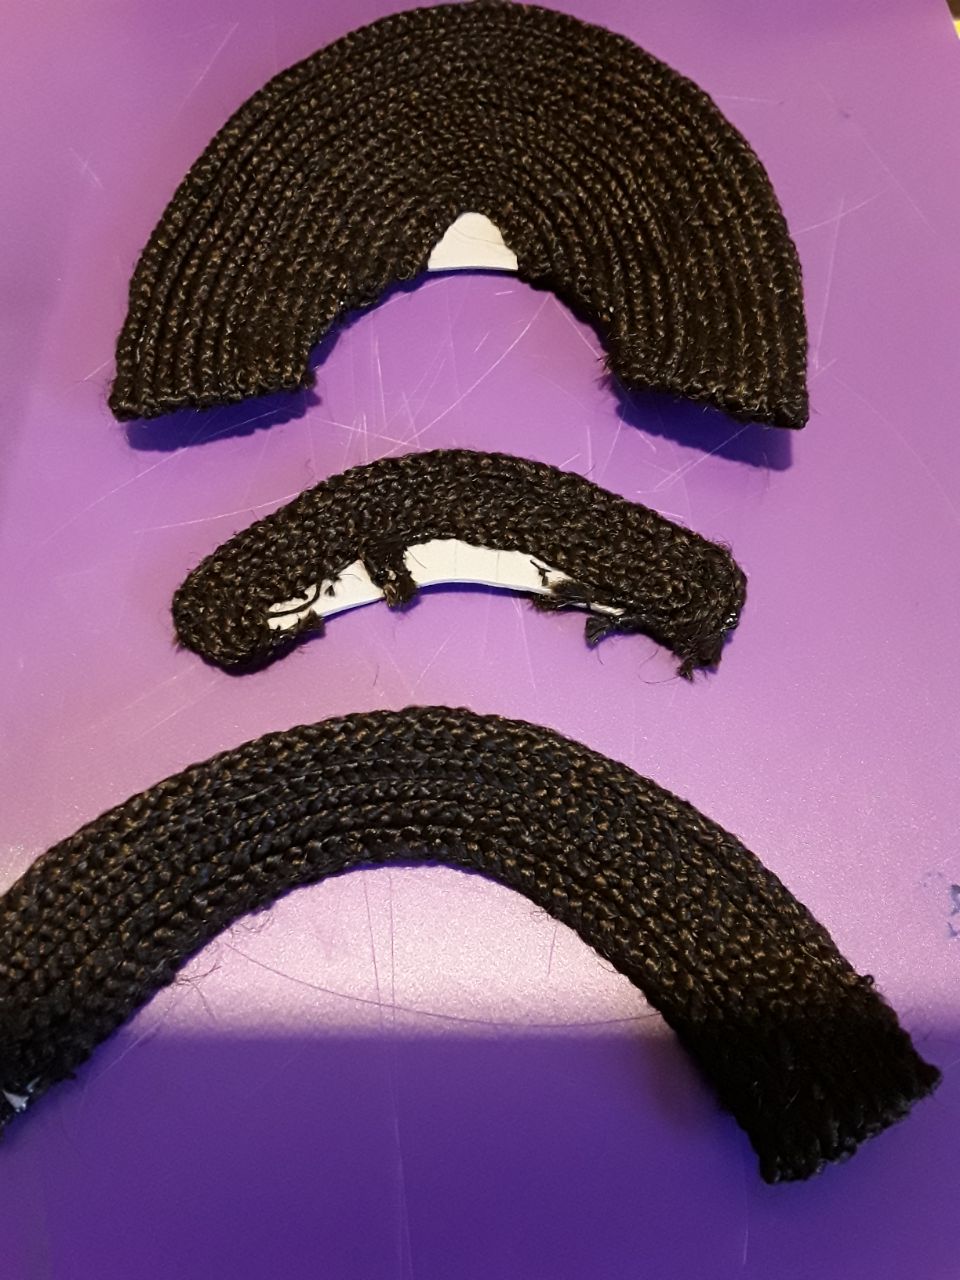
 Even more time was needed to sew the individual braids unto the foam base by hand with linen thread.
 On the inner top part, I had to add some additional pattern pieces, each of them covered in braids as well.
 Finally, the fake metal pieces were glued on.
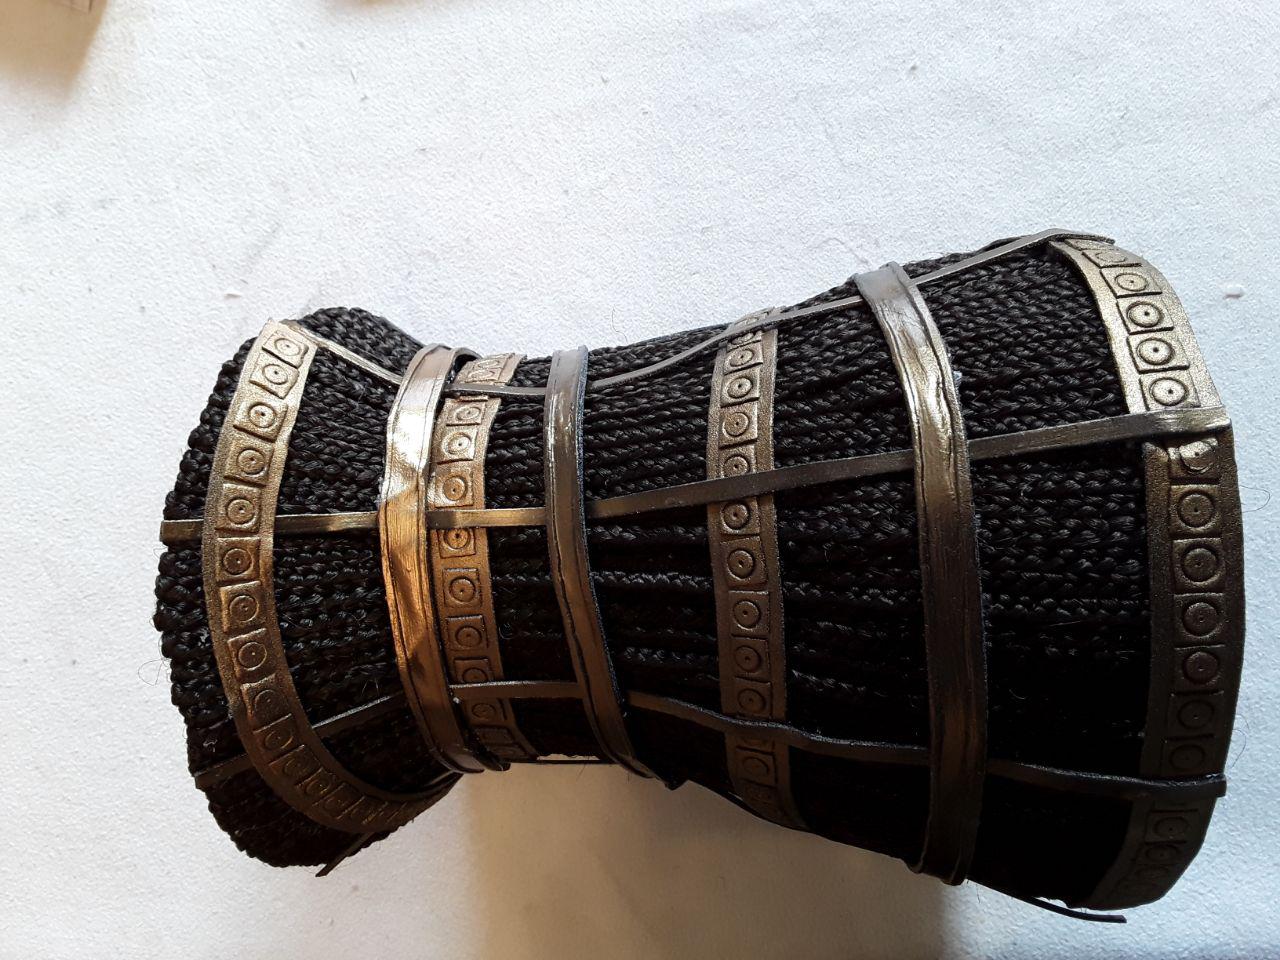
The upper part:

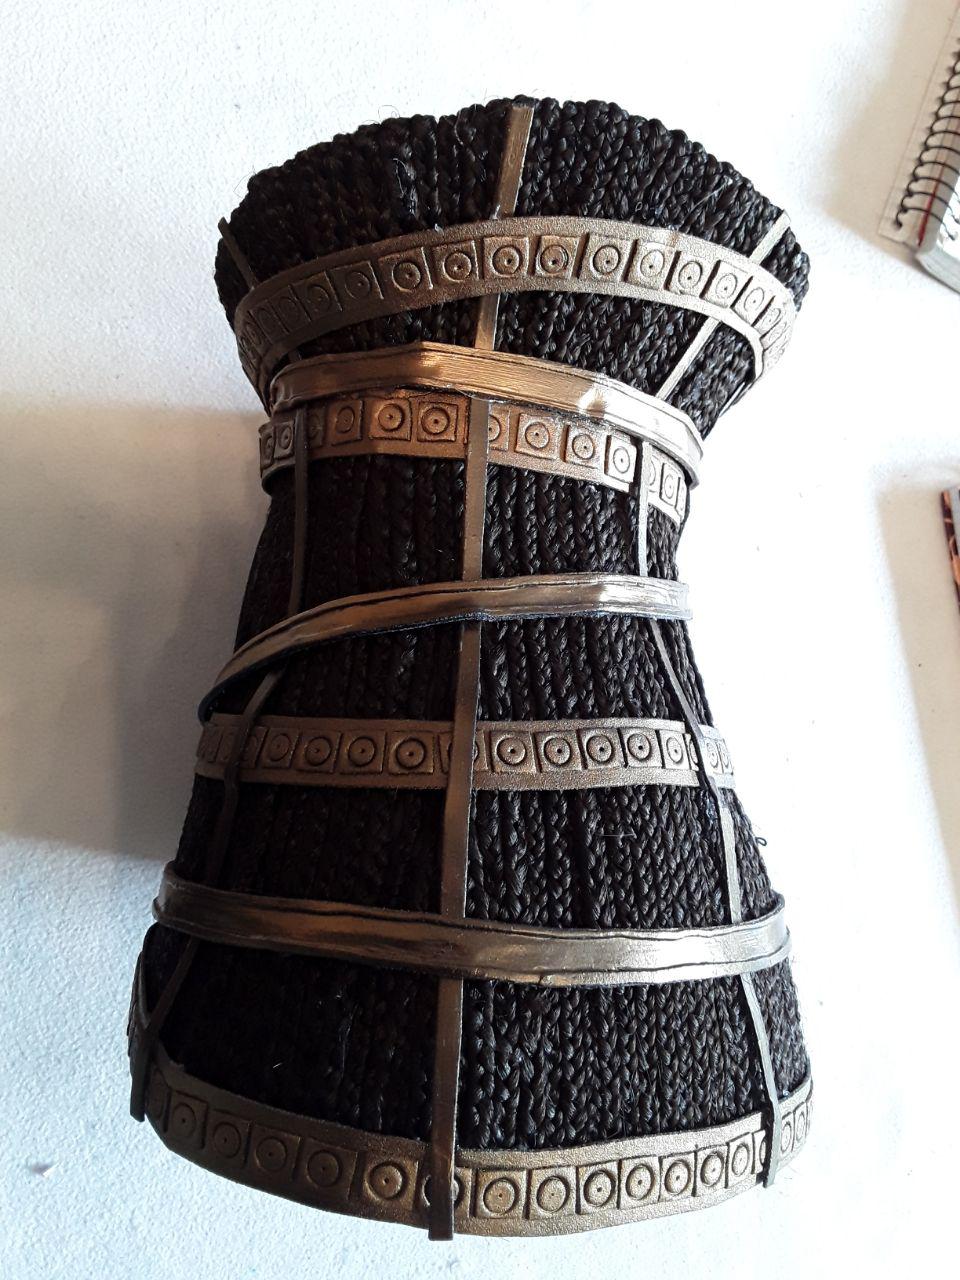
And from another angle:
Back to the Main Page
Back to Page 8
Further reading: Page 10