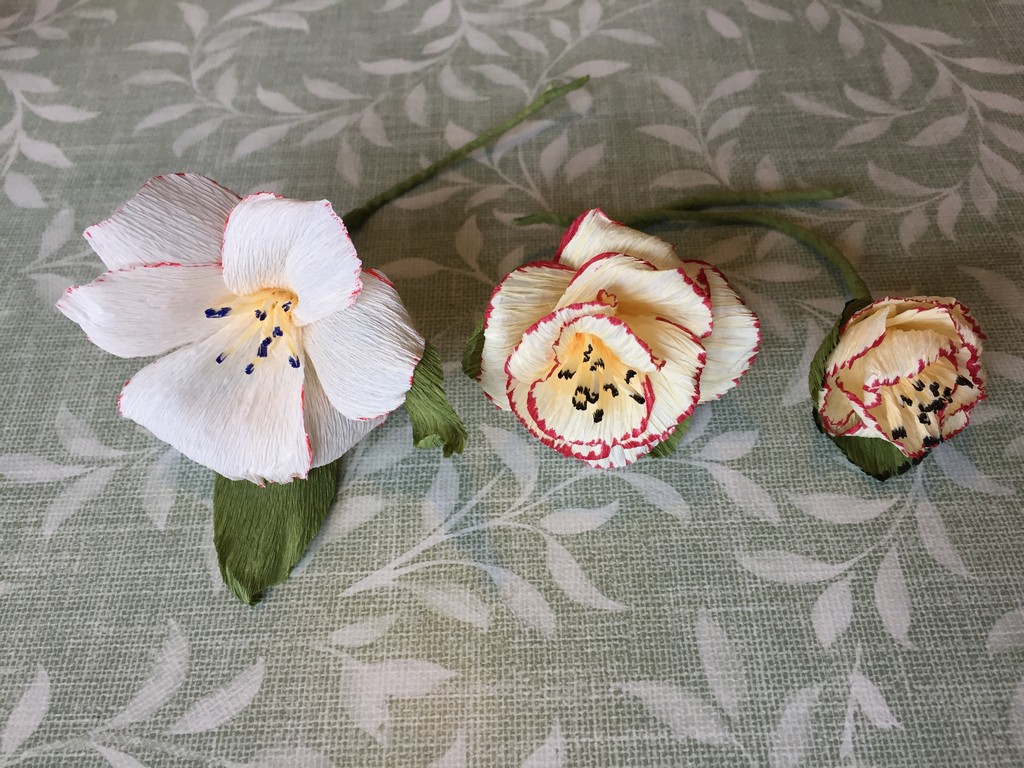
Paper flowers are a great alternative to the expensive silk flowers from decoration stores or the terrible plastic plants from various discount stores. Moreover, you can let your creativity run wild and match them exactly to the colors of your clothes.
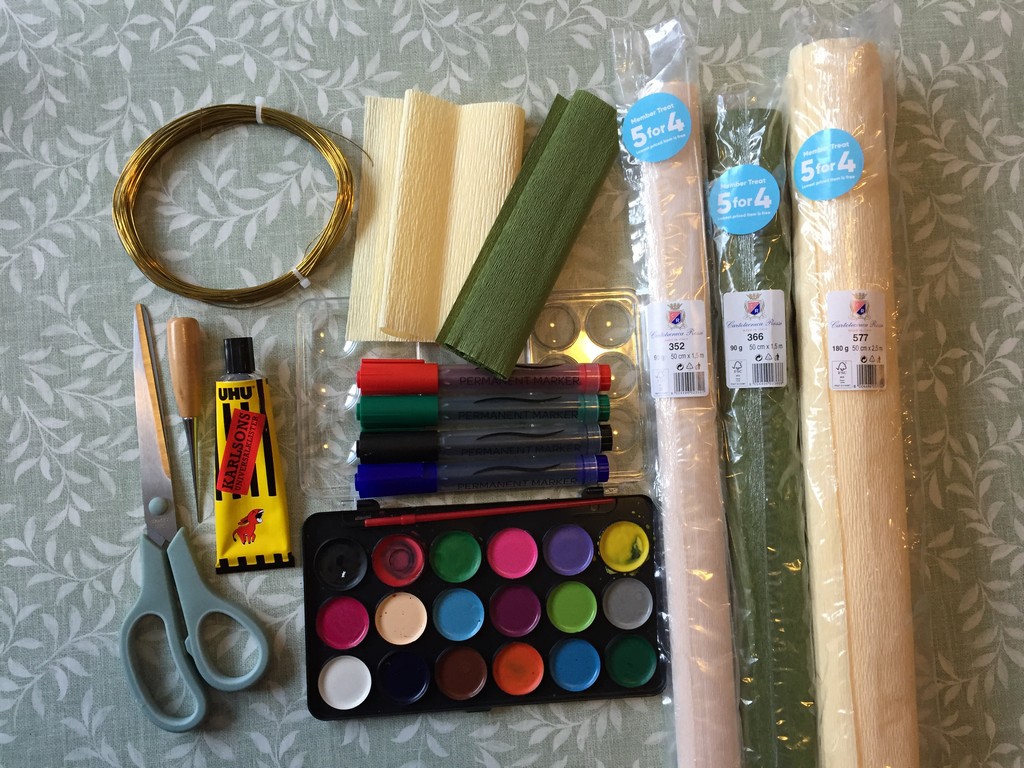
For this, you will need the following materials:
- Crepe paper in small quantities (e.g., from the craft store)
- Thin wire
- Glue (e.g., Uhu or hot glue)
- Colors (e.g., watercolor paints or permanent markers)
- Scissors (plus possibly wire cutters)
- Tools for curling the edges (e.g., awl, knitting needles)
Step 1: Making flower petals
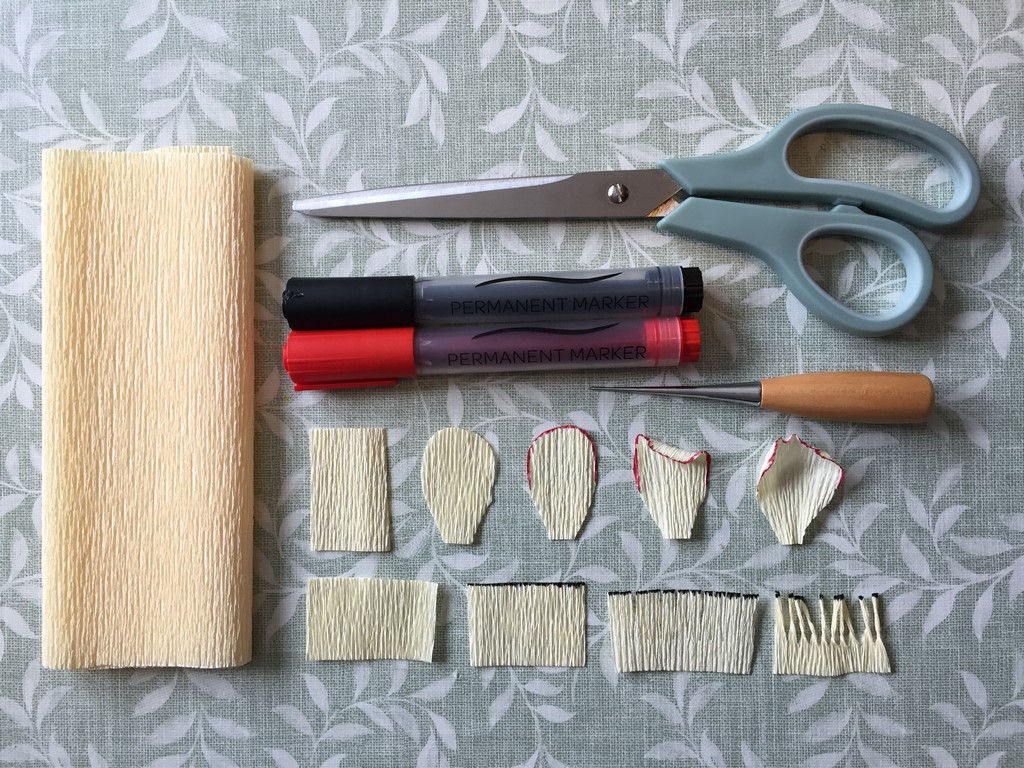
From a color of your choice, cut out flower petals in the desired size. The petals can also be slightly smaller inside the flower and larger towards the outside. Optionally, the edges can then be embellished with color. Next, curl the edges around a round, narrow object, such as an awl or knitting needles. Then, stretch the middle of the petals slightly with your fingers so that the shape becomes three-dimensional. Depending on the design, the inside of the flower can be further embellished by painting a paper strip on one edge, then cutting and curling it.
Step 2: Attaching to the stem
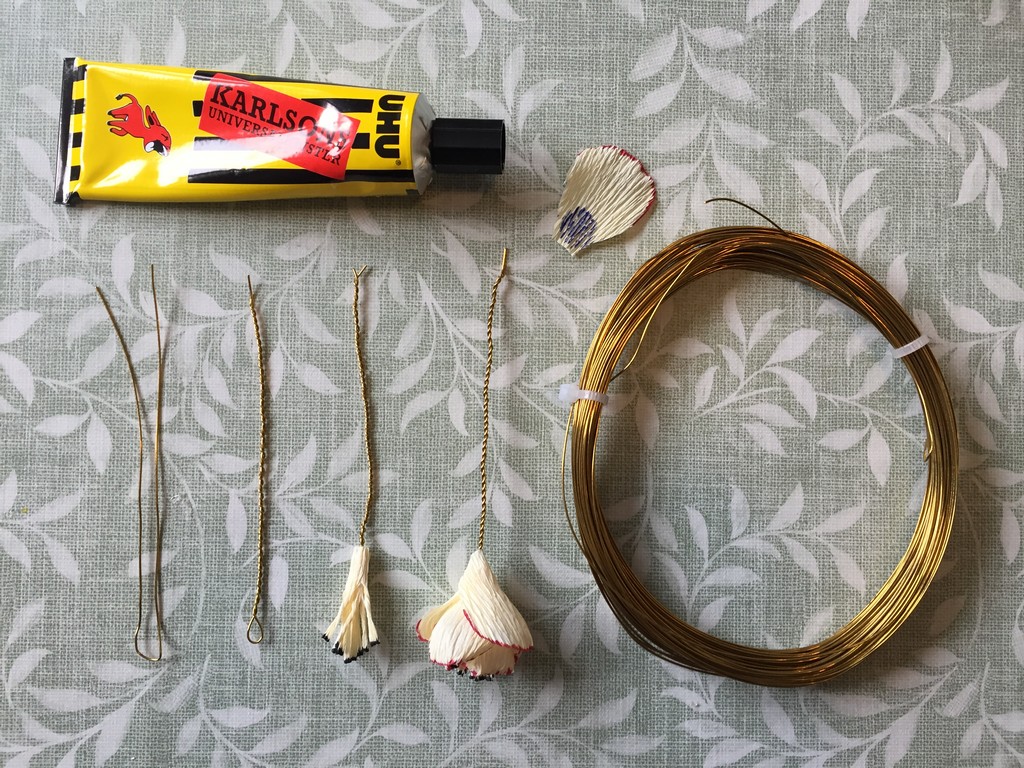
The inside of the stem consists of wire. With thin wire, consider twisting two strands together. With thicker wire, I would at least bend the ends to avoid injury. The twisted middle part is then wrapped around one end. Then, each petal must be individually glued into position. The blue marking shows the adhesive area on the petal.
Step 3: Adding greenery
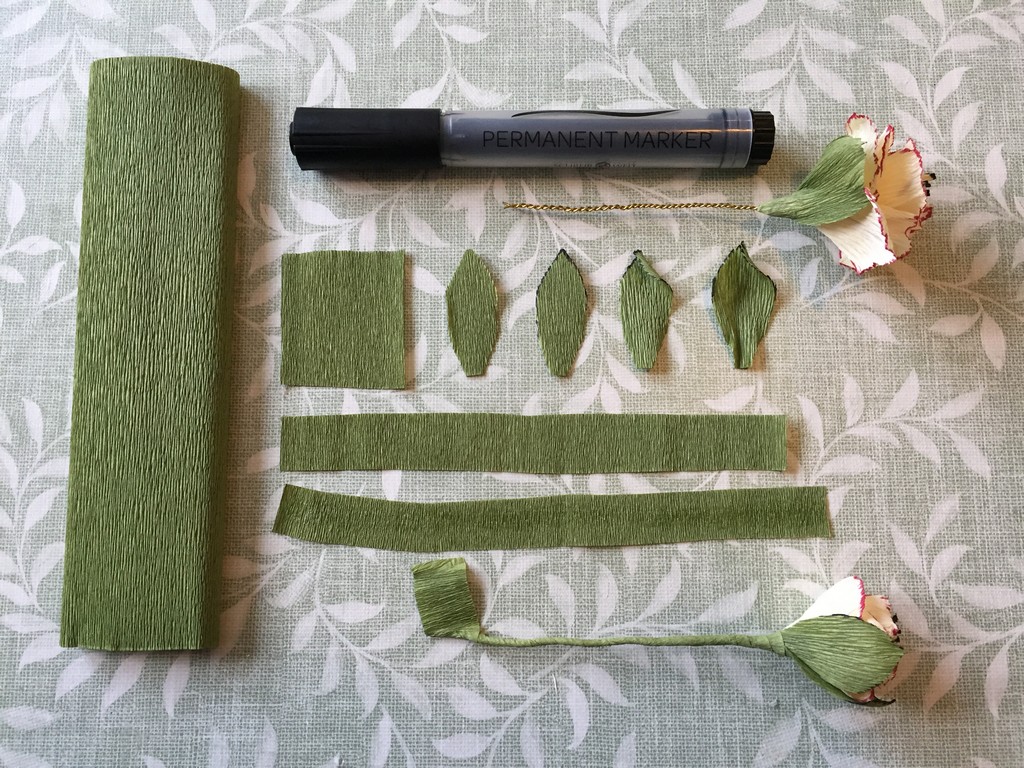
Next, add the green leaves and wrap the stem. The leaves can be decorated, curled, and shaped at the edges just like the flower petals. The wire is wrapped with a long strip of crepe paper. It’s important not to skimp on the glue.
Finished!
Back to the Tutorial collection