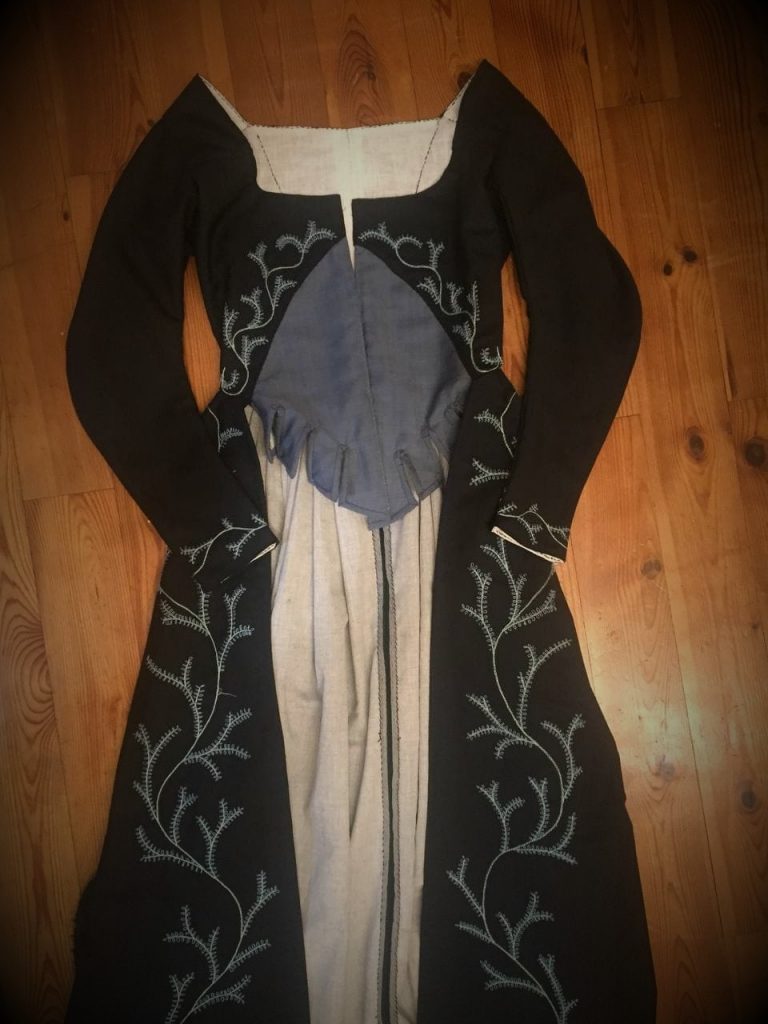
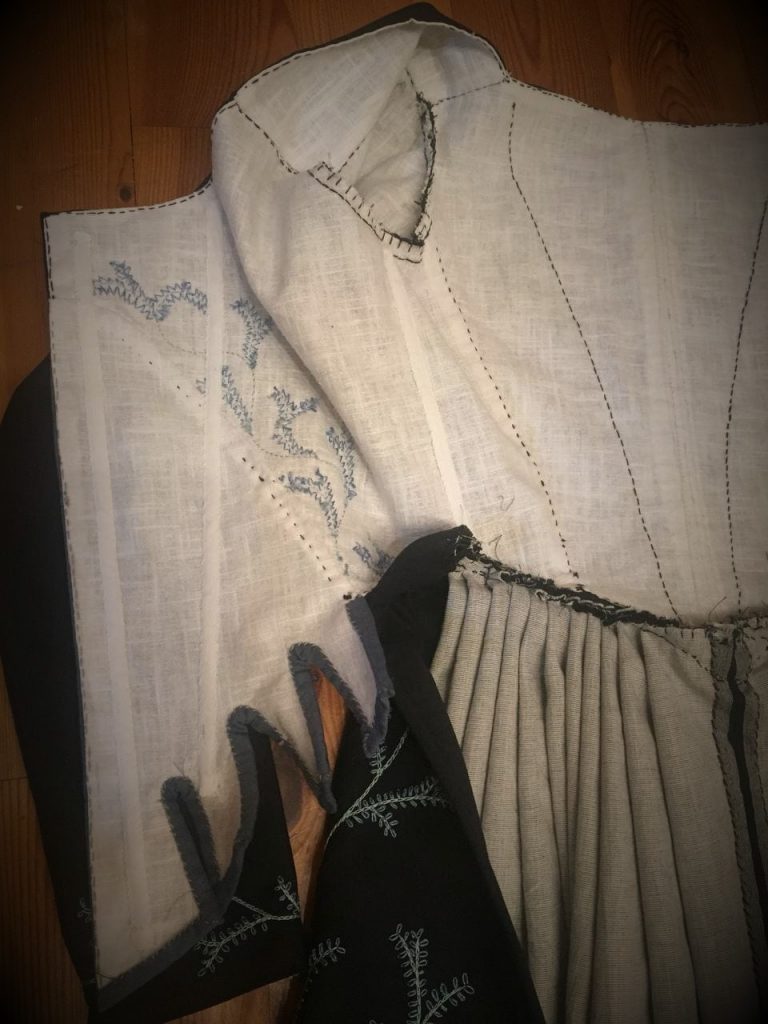
Although I did not take a lot of photos during the making-of the dress, I want to present some photos that show the general construction of 18th century dresses. Everything was sewn by hand and – as far as my research is correct – as close as possible to the original methods. This dress is made from fine woolen fabric in two matching colors.
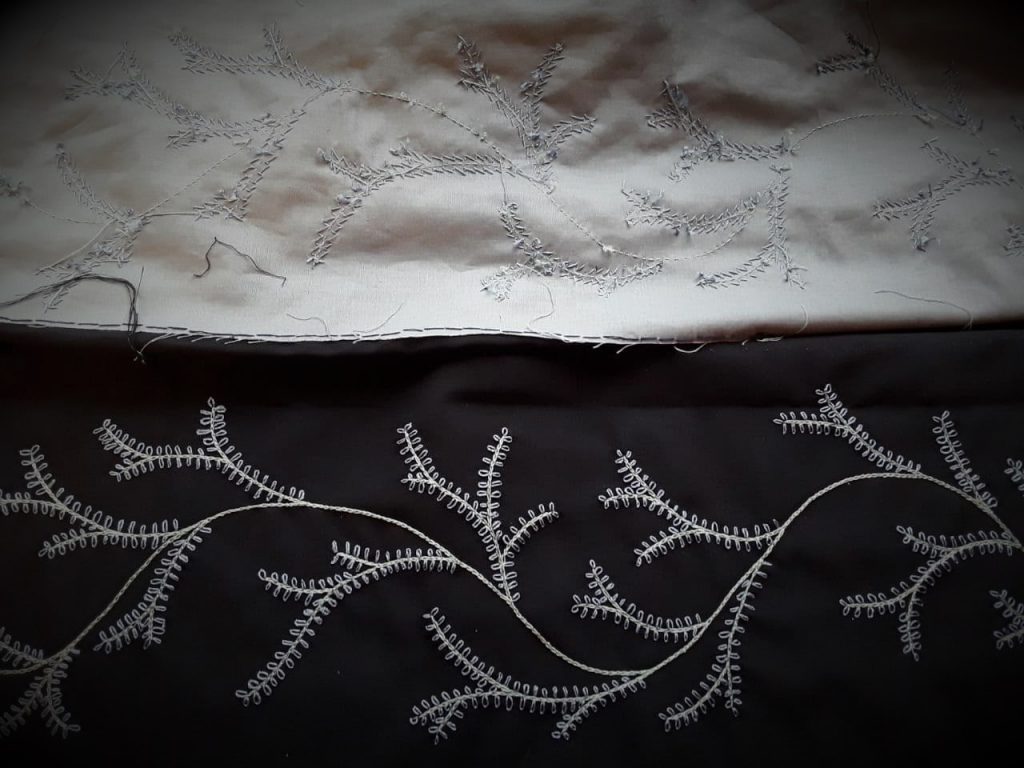
But the most impressive part is the huge embroidery I included at the front of the skirt, as well as on the sleeves and the bodice. I think more than half of the estimated 120 hours went into the embroidery.
First of all, I added some cotton backing, because the fabric was really thin and I did not want it to get stretched when using an embroidery hoop. I transfered my design with chalk and simply stitched one part at a time.

You may notice the rough inner side of the embroidery at the photos, but it is not visible on the finished dress, because the fabric is folded inwards some inches.
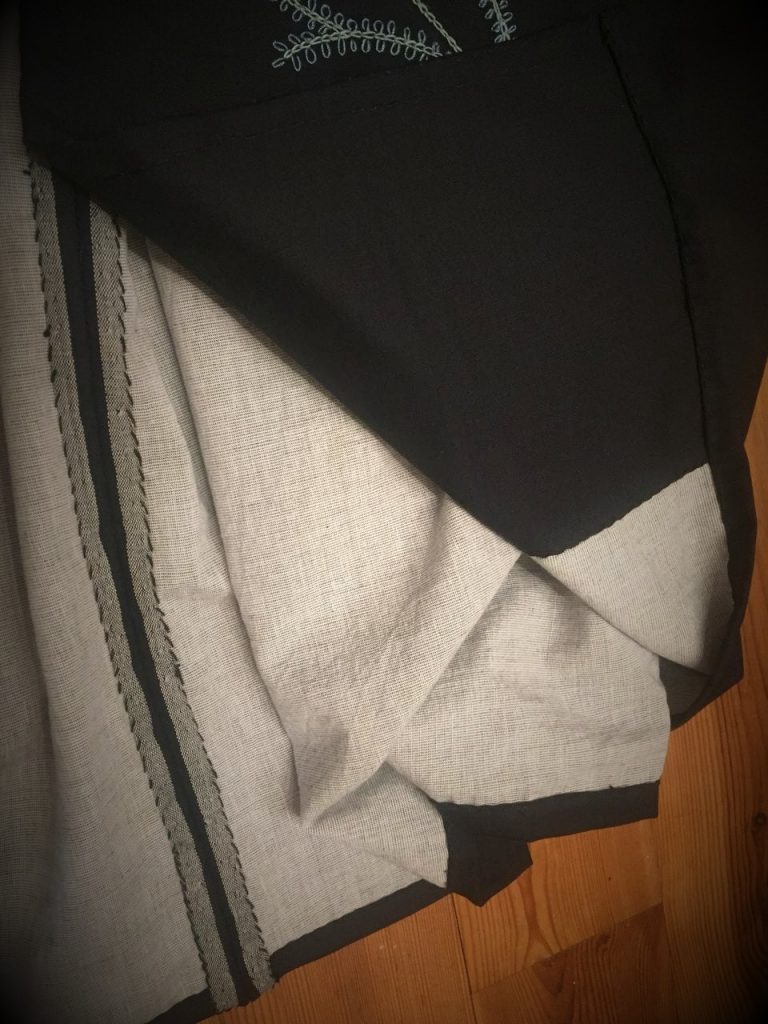
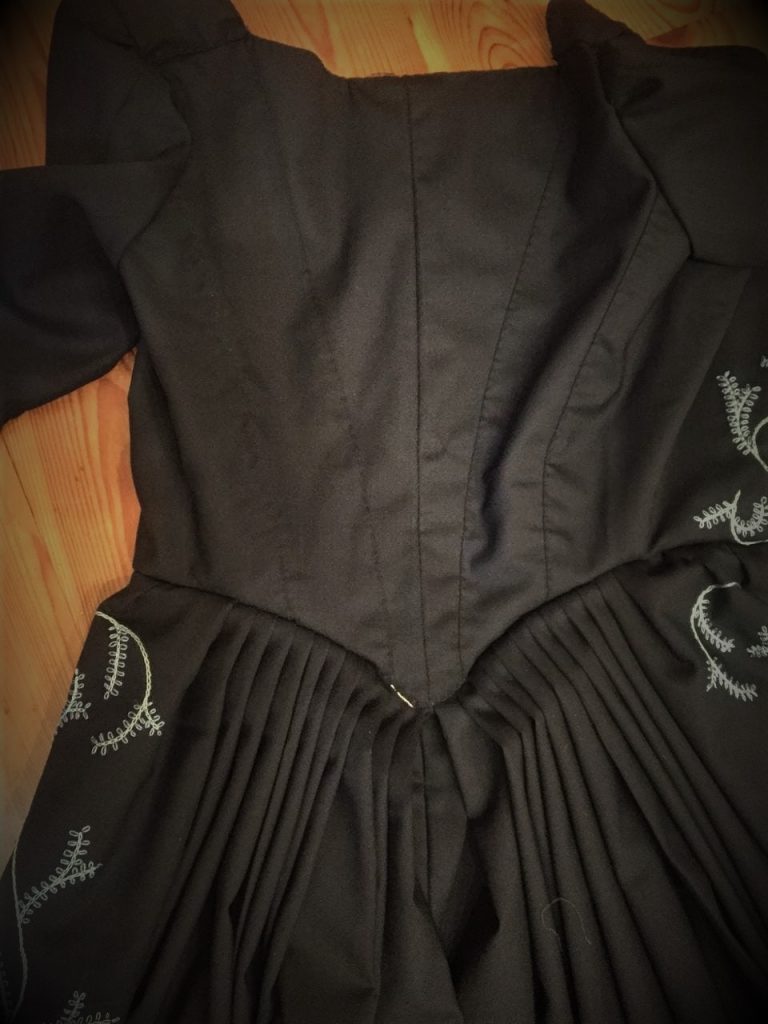
In this step, I also added a cotton lining to the full width of the skirt to give it additional strength. It also helped to cover the raw edges. I have to admit that a lining is not very typical for 18th century skirts. I could only find one example in the book Costume in Detail, that was dated to the mid of the era.
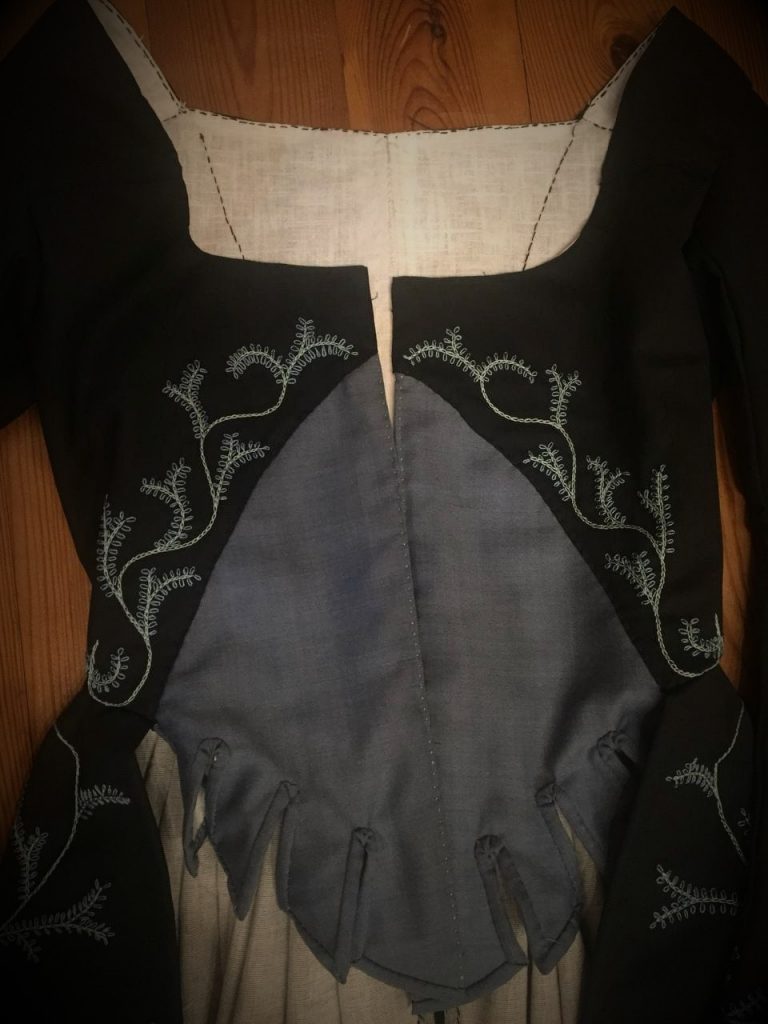
In contrast, the bodice was lined with linen. The back is made in one piece, while the upper layer is divided to create a fashionable seamline. By the way, some boning is hidden in the centre back seam allowances. Additional boning was implemented on the side and front by adding channels.
Further I want to draw your attention to the Zone Front of the dress. The flaps – or however you want to call them – are linked to the term Italian Gown, but this needs some further reasearch.
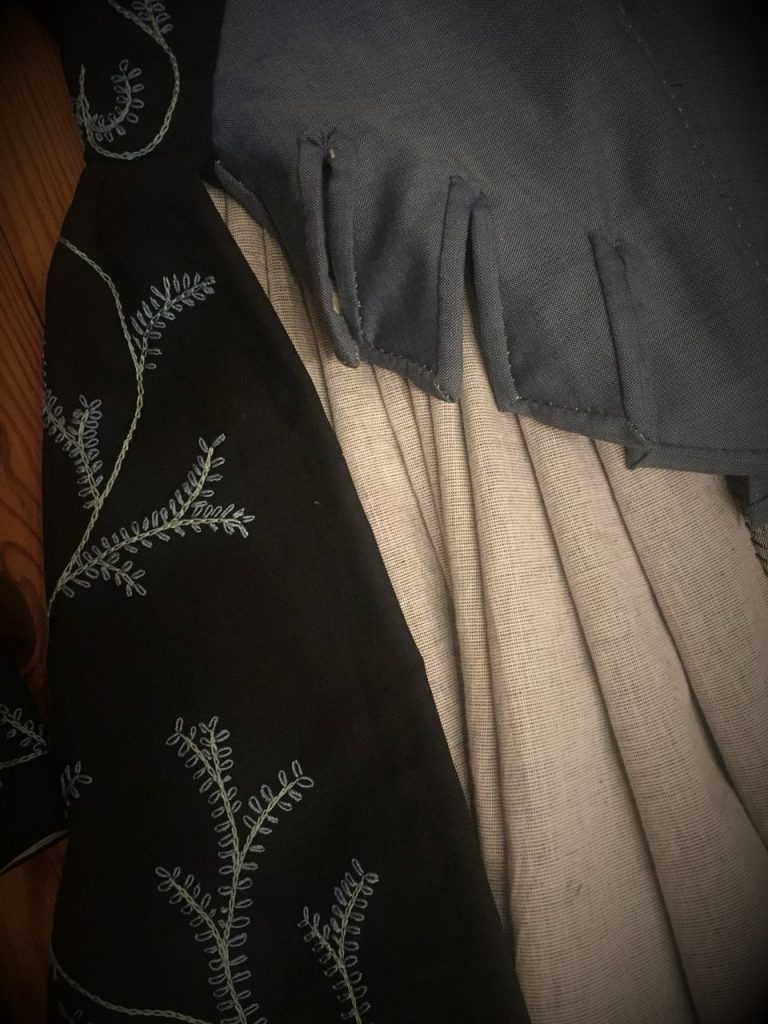
For the seams I used both blue and white linen thread. The skirt is meant to be one or two inches shorter than the ones from previous decades and lays the emphasis on the back instead of the sides/hips.
To sum it up, I made a personal dream come true by embroidering a whole dress by hand. Three packages of silken embroidery thread were used for it, which sums up to 130 yards of every color. I hope you enjoyed this brief explanation of the techniques I use to create most of my 18th century gowns.
If you want to learn more, I clearly recommend to check out the making-of pages. You can also have a look at the finished garment (upcoming).