Since I had only ten days to craft a complete outfit, the first version included only the bracers, the shinguards, a belt, the black coat and the famous hammer. It was inspired by the look Thor wears during their visit in Asgard in “The Dark World”. Due to the heavy black coat, the main part of his outfit is hidden, which was a perfect excuse to leave that one away.
First of all, I would like to talk about the hammer, which is of course the center of attention. I started out with a foam model, but ended up throwing that one away and rebuilding it with hard cardboard. If you want to know the exact measurements, I recommend looking at my pattern.
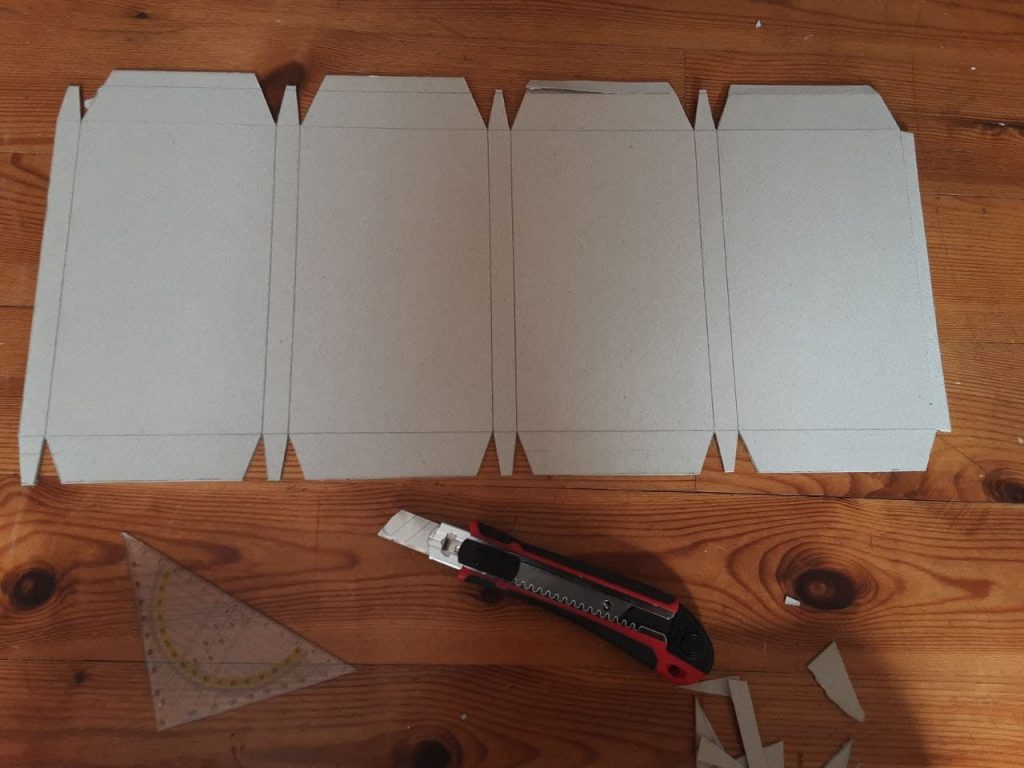
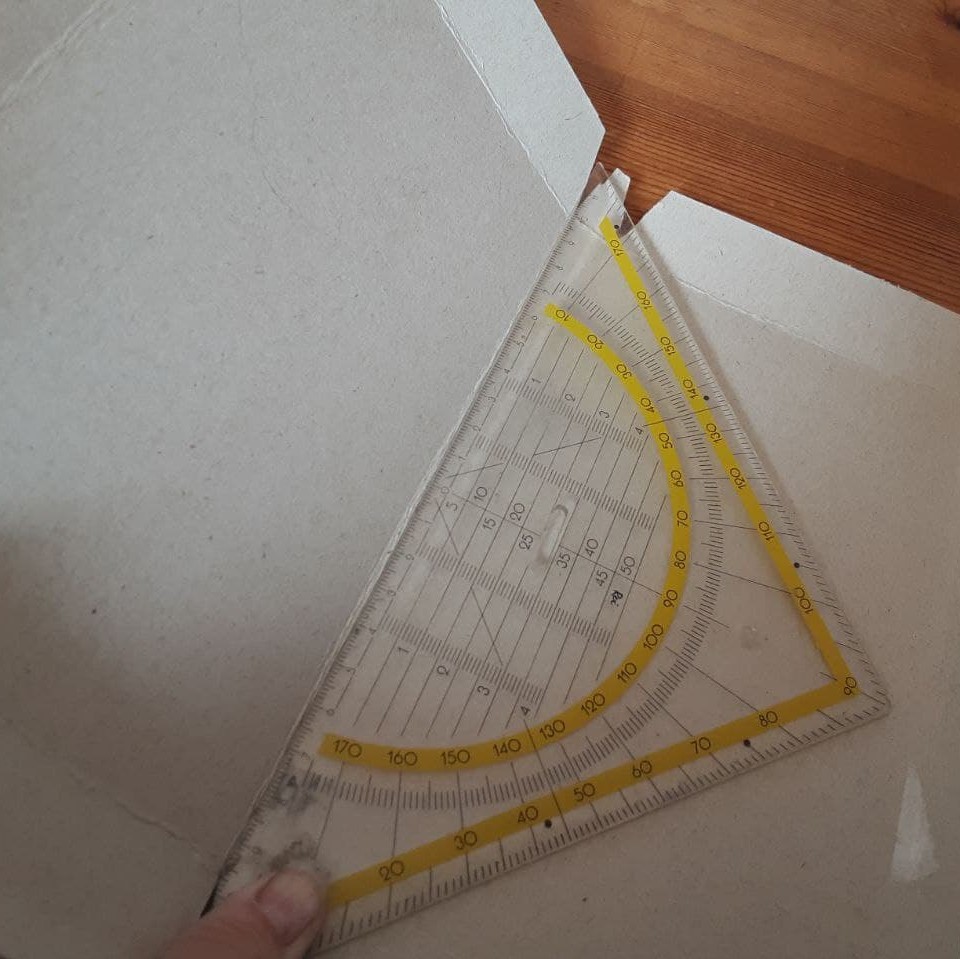
As you can see, the pattern is not symmetrical due to the flaps that are needed for gluing. By cutting slightly into the outer side of the cardboard, I could simply bend it over the edge of a ruler.
Then I could close the long side. For the next step, I prepared the other edges with some adhesive tape, so that it could not move when the hot glue was applied.
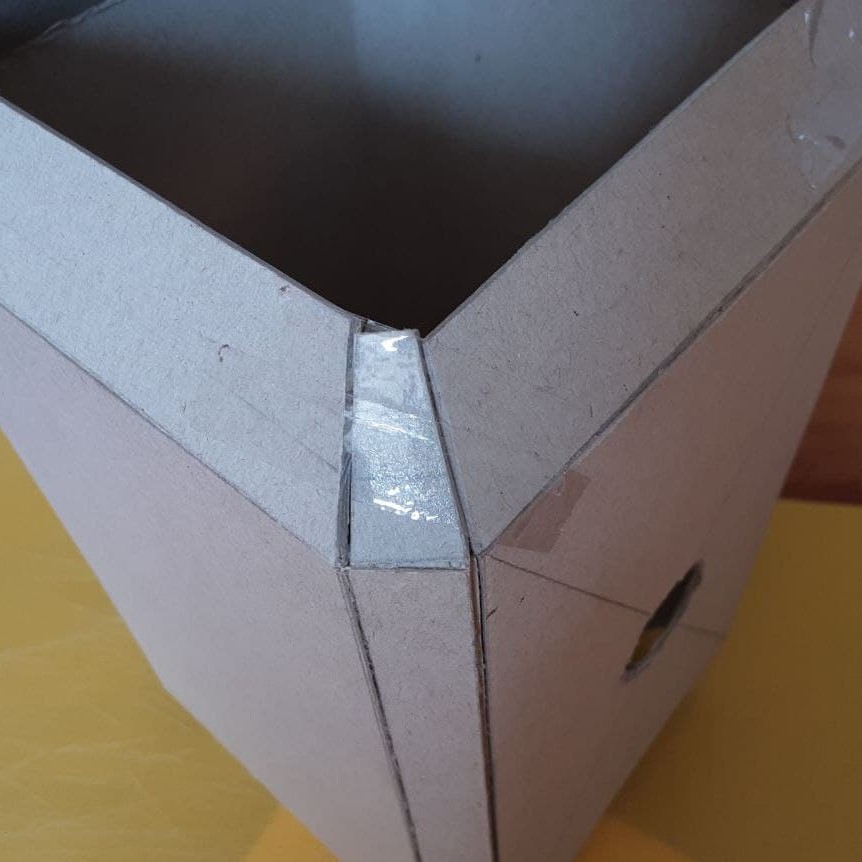
While the side without the flaps was already closed, the other one needed to be left open to set the handle in place. I did not count the sticks of hot glue that were needed, but I ensure you it was quite a lot. For more durability additional layers of foam were inserted, while the handle itself is a hard cardboard roll used to hold aluminium foil.
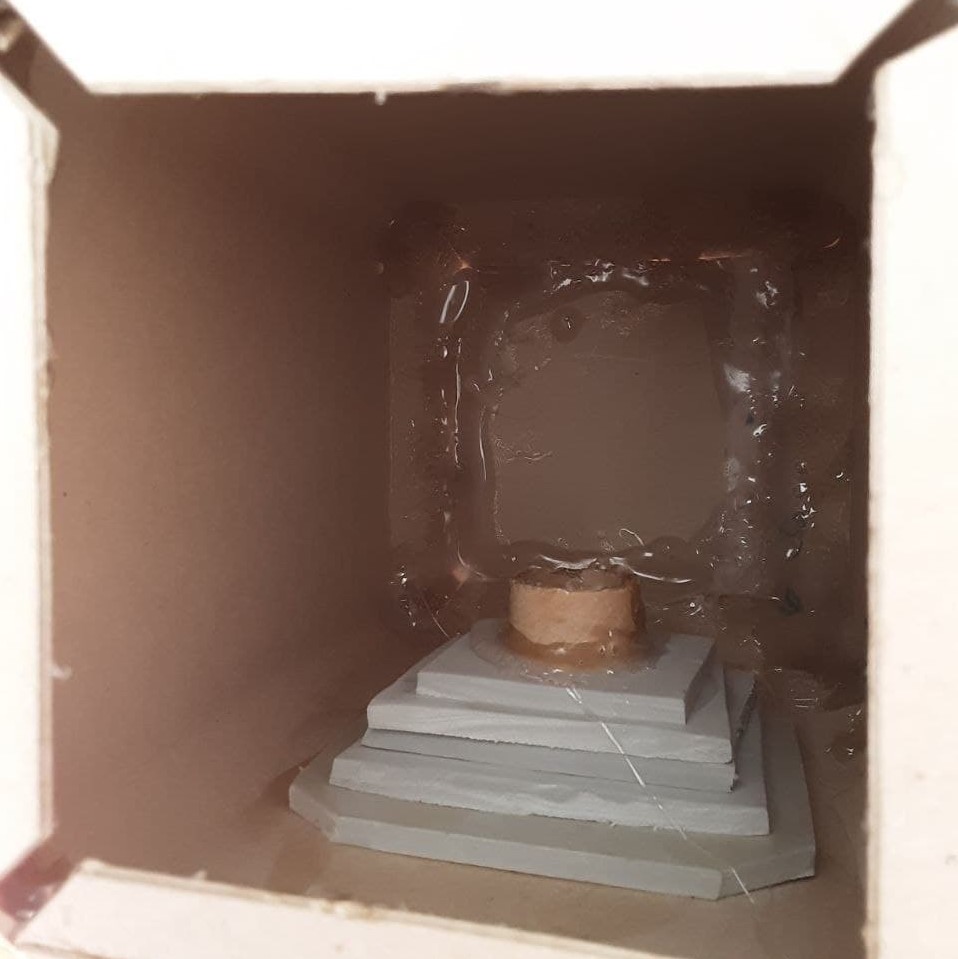
Since the last missing part of the hammer could not be glued it like the other ones, the flaps came in handy. With the help of some filler for the cutting lines, the base model of the hammer was finished.
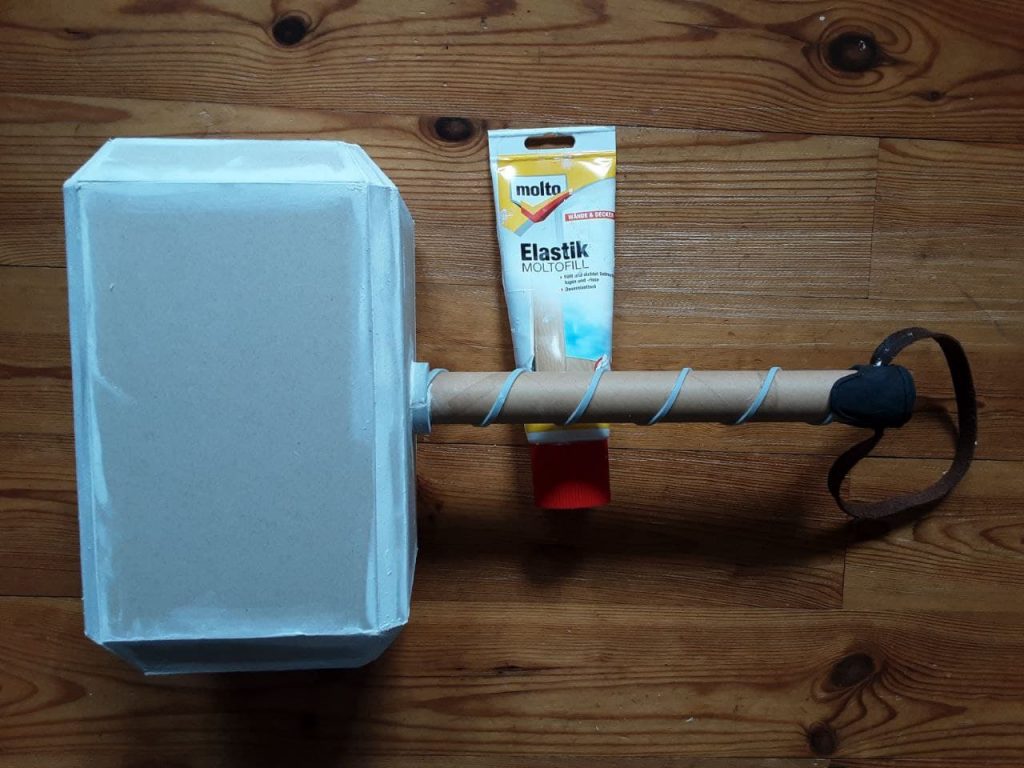
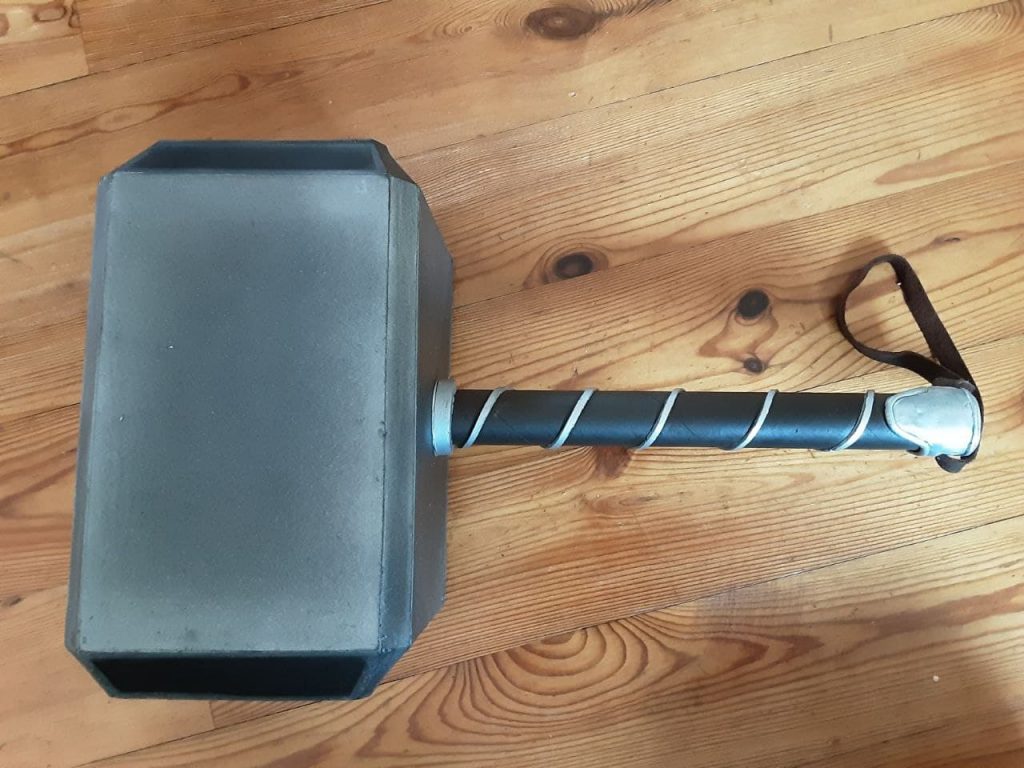
On this photo you can have a closer look at the handle, which was decorated with thin foam and some foam clay. In order to make the leather band hold the actual weight of the hammer, the strip goes through the cardboard and is secured with two knots. Next the model was primed and spray painted with black paint, which is always a good base color for all shades of metal. This was basically the status at the mourning of the convention, so that I had only one hour left to apply the final acrylic colours with my airbrush and a brush.
For the rest of the outfit I was also low on time. Of course it took some days to receive the package with the fabric, which is a nice wool-blend. I am still unsure if the original is made from wool or leather.
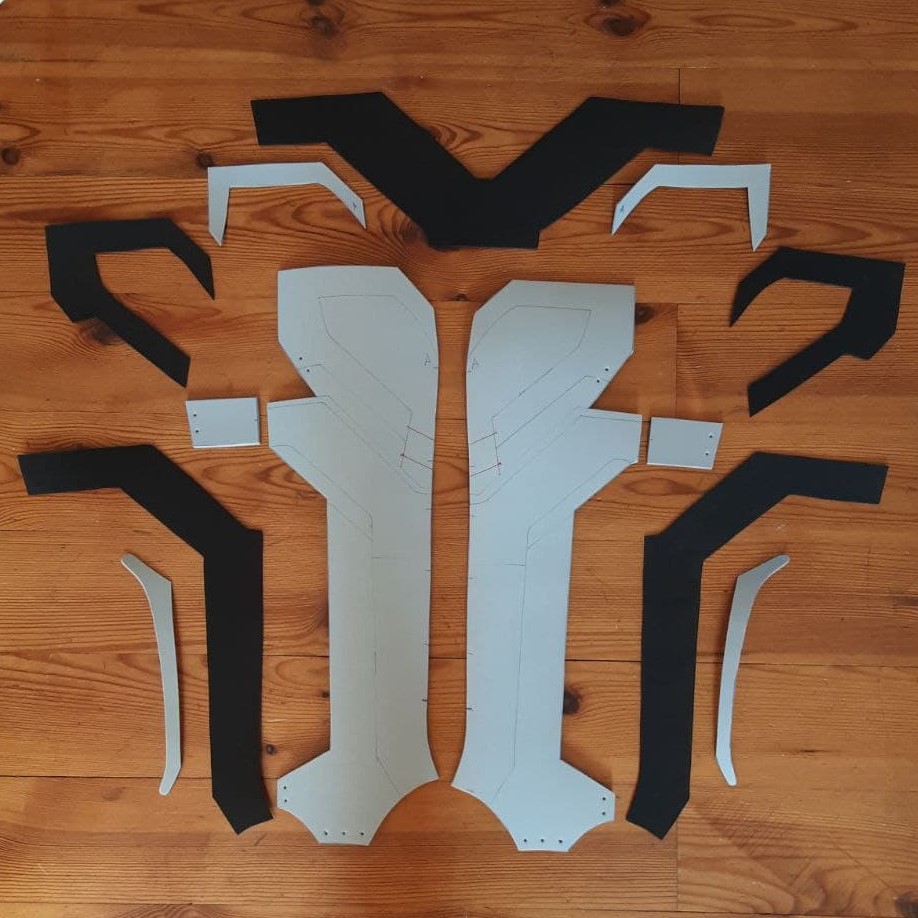
The armor parts consist of 2mm and 5mm foam, to be precise they are simply made up by the thicknesses I had at home at this point. You can see the various layers that go into one final piece in the following picture. Contact cement does a very good job on that.
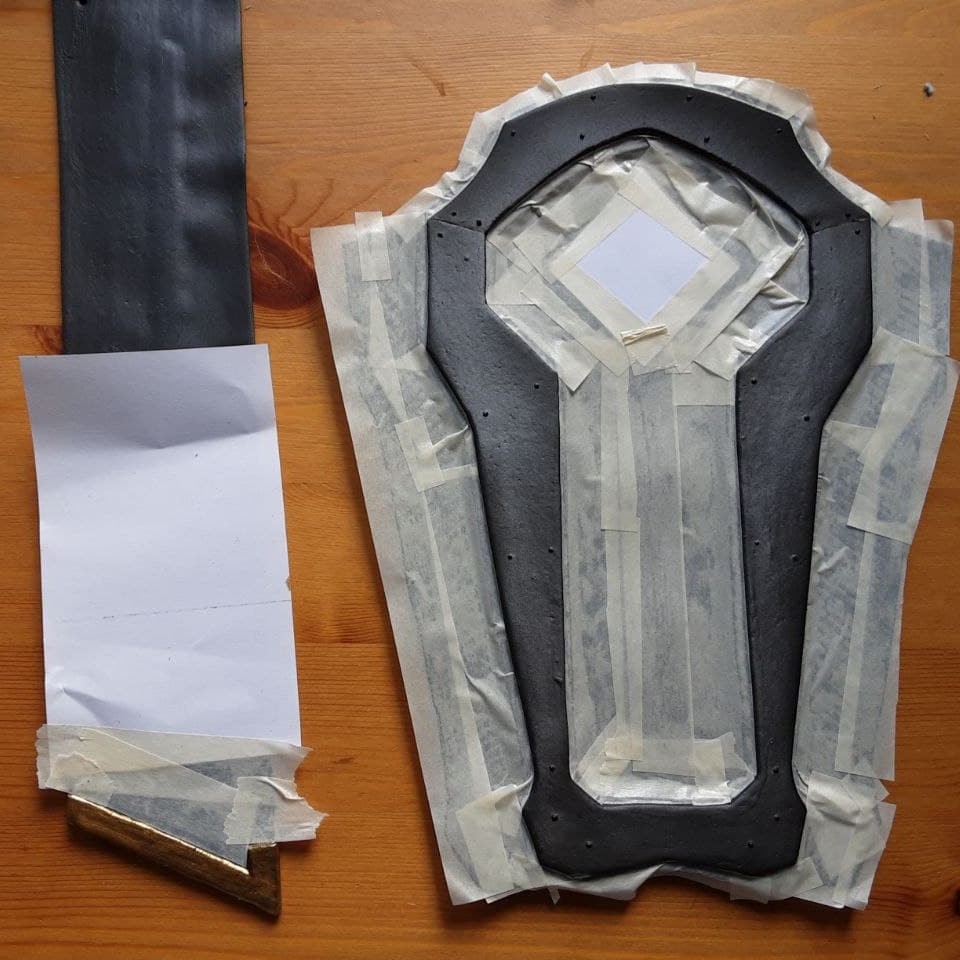
Furthermore the EVA foam needed to be head-sealed before three layers of Flexbond were applied. To immitate the small rivets I used 3D paint. First everything was colored in metallic greyish-black, then the individual parts were covered in tape, so that the various colors could be applied with my airbrush.
Afterwards the bracers were glued to a base that consists of fabric and foam.
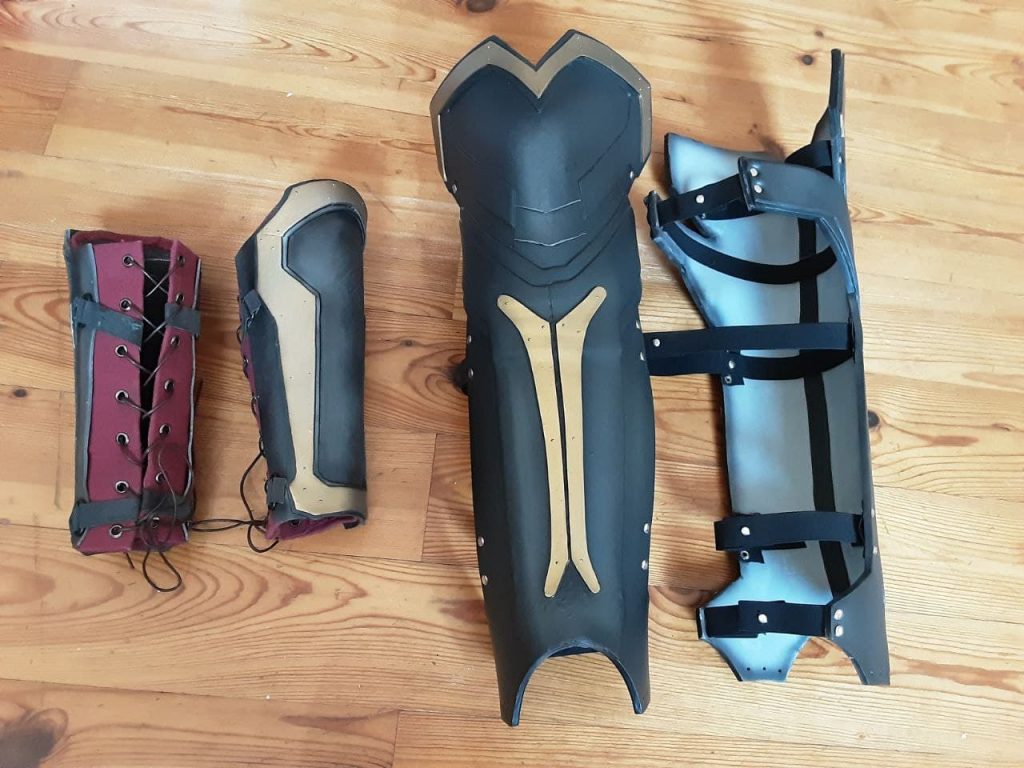
In the original movie, the shinguards are not separate, but part of his boots. However boots or nice shoes in general are hard to find in men’s sizes, so that I needed to change the design a little bit. The back is covered by the cape anyways. To make the belt parts work without any main armor, they are attached to a belt.
One year later I could finally enhance the outfit and evolve it into a complete look. I decided to continue to work with foam in 2mm and 5mm. In addition to many layers of those plates, I also added some foam clay. As it was the case with the rest of the armour, the final piece had to be head-sealed, covered in three layers of Flexbond and primed before the actual paintjob could start. I used different metallic and basic shades of acrylic colors and applied them with my airbrush. To prevent the airbrush colours to get everywhere, I used some tape.
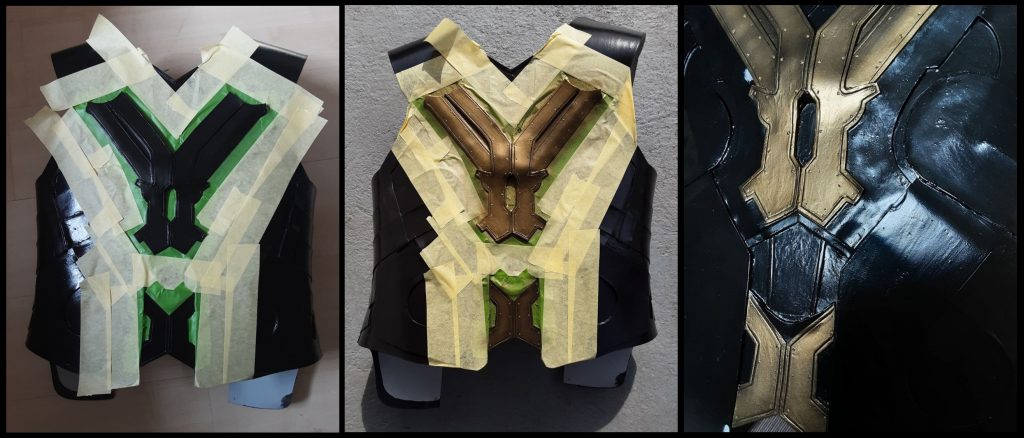
Last but not least everything was sealed with satin varnish. The back lacing of the armor is hidden by the cape. Although we left the red cape away for the first outfit, we decided to include it in this updated version. In contrast to the black one, it is directly linked to the outfit, which would cause some problems when storing the whole look. Therefore I separated all into three pieces: the cape, the shoulder piece and the armor itself.
The belt parts were completely reworked and are now directly attached to the main armor. In contrast to this, the shinguards, bracers and the hammer could be reused.
Photos of the finished look can be found on the costume’s main page (upcoming).
For building your own hammer you may use my pattern.